The Creation and Development of Reflective Signs
On the roads and highways of today, signs are everywhere. They tell us how fast to go, when to stop, how far to our destination, danger ahead, and a variety of other very important messages. Without these signs, the roads of the world would be much more dangerous than they already are. We depend on these signs for guidance and information as we drive in the daytime, and even more so at night.

In the daytime, we see signs clearly because of a phenomenon called scattered or diffused reflectivity. This is when light hits an object and reflects in every direction. This type of reflectivity is natural, and is what allows our eyes to see the world in full color and clarity. The problem is, at night, there is very little light to reflect off of anything, so the world goes dark. Unfortunately, in the early 1900’s, road signs also went dark, making night time driving hazardous.
The Development of a Solution to Night Time Sign Visibility
In the early 1900’s, inventors began working with glass spheres and mirrors in an effort to create what we now know as retro reflectivity. Retro meaning to go back, and retro reflective meaning to reflect light back to the source. It is interesting that both glass spheres and mirrors were experimented with around the same time, because today, both methods are still used to reflective light.
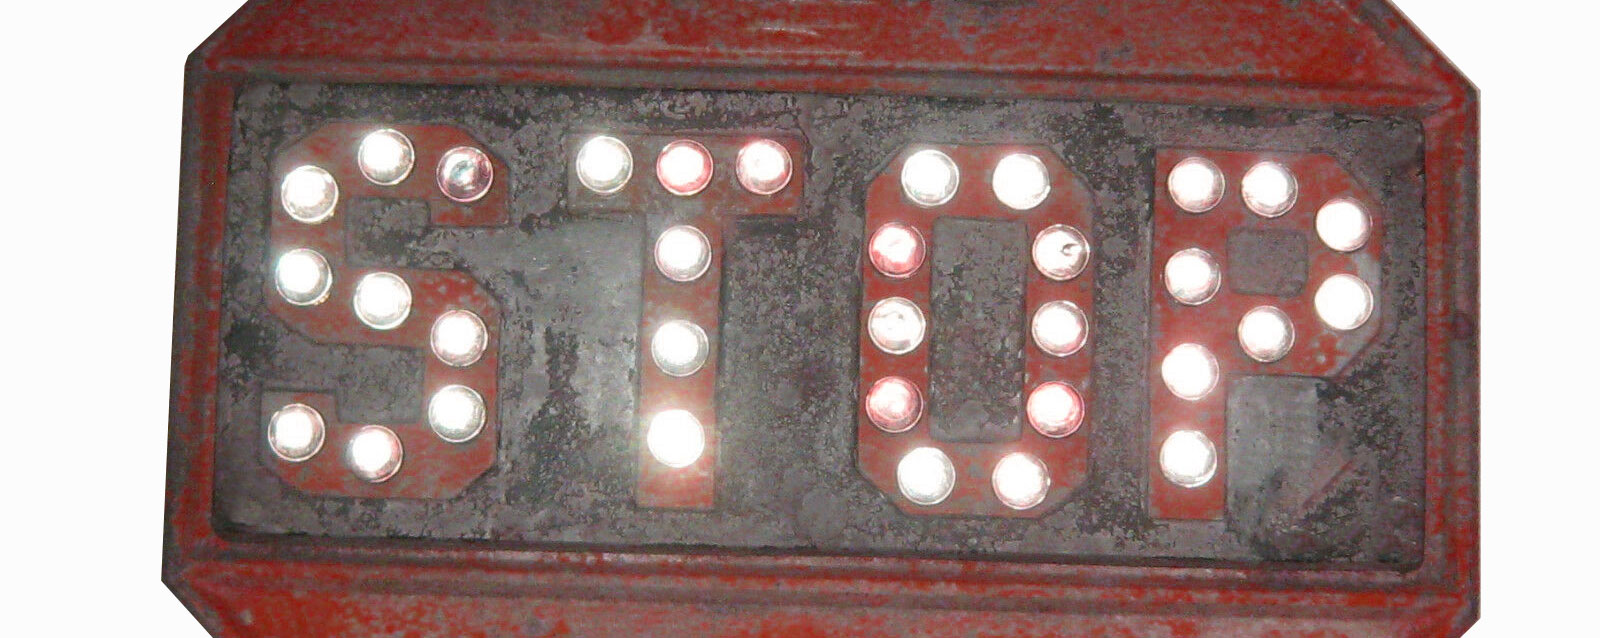
In the 1920’s, reflectivity was officially added to signs through the use of large glass beads or cats eyes embedded into the sign itself in little divots. If you look up vintage stop signs you can see these devices being used to spell the word stop, or to outline a sign.
A device called a Cataphote Reflector was invented in 1927 by Percy Shaw. It incorporated a glass sphere in a metal holder. This device gave users the ability to add reflectivity to anything they desired. Mr. Shaw’s invention was used on everything from signs to road markers. (marking center line of the road)
In 1928, around the same time that Mr. Shaw was patenting Cataphotes, Jonathan Cass Stimson was inventing the cube corner reflector. His company, Stimsonite, is credited with the creation of this device, and his technology is used to this day in car tail lights and reflective road markers.
In the 1930’s, Potters Beads began manufacturing perfectly round, clear glass spheres. These were originally intended to be used on cinema screens, and painted highway lines to make them reflective. To this day, Potters Beads are still used to make road markings reflective, all over the world.
In 1937, the 3m company, developed a way to embed glass beads into a flexible backing. Their original intent was to create reflective road stripes using this method. Durability was an issue with the invention, so the film was further developed to be used as a way to make signs reflective. This would be the first development of what we now know as reflective tape.
From 1937 to 1947, 3m continued to develop their new reflective sheeting. In 1947, the product was brought to market and branded as Engineering Grade Reflective Sheeting or Tape. 3m’s new film quickly became the industry standard for sign reflectivity world wide and is still used to this day on signs around the globe.
In 1963, the Rowland Brothers, using Stimsonites cube corner technology, invented what we now know as prismatic reflective sheeting. Other companies, including 3m, picked up on this new invention, and today, prismatic sheeting has become the standard for signs, especially on busy interstates.

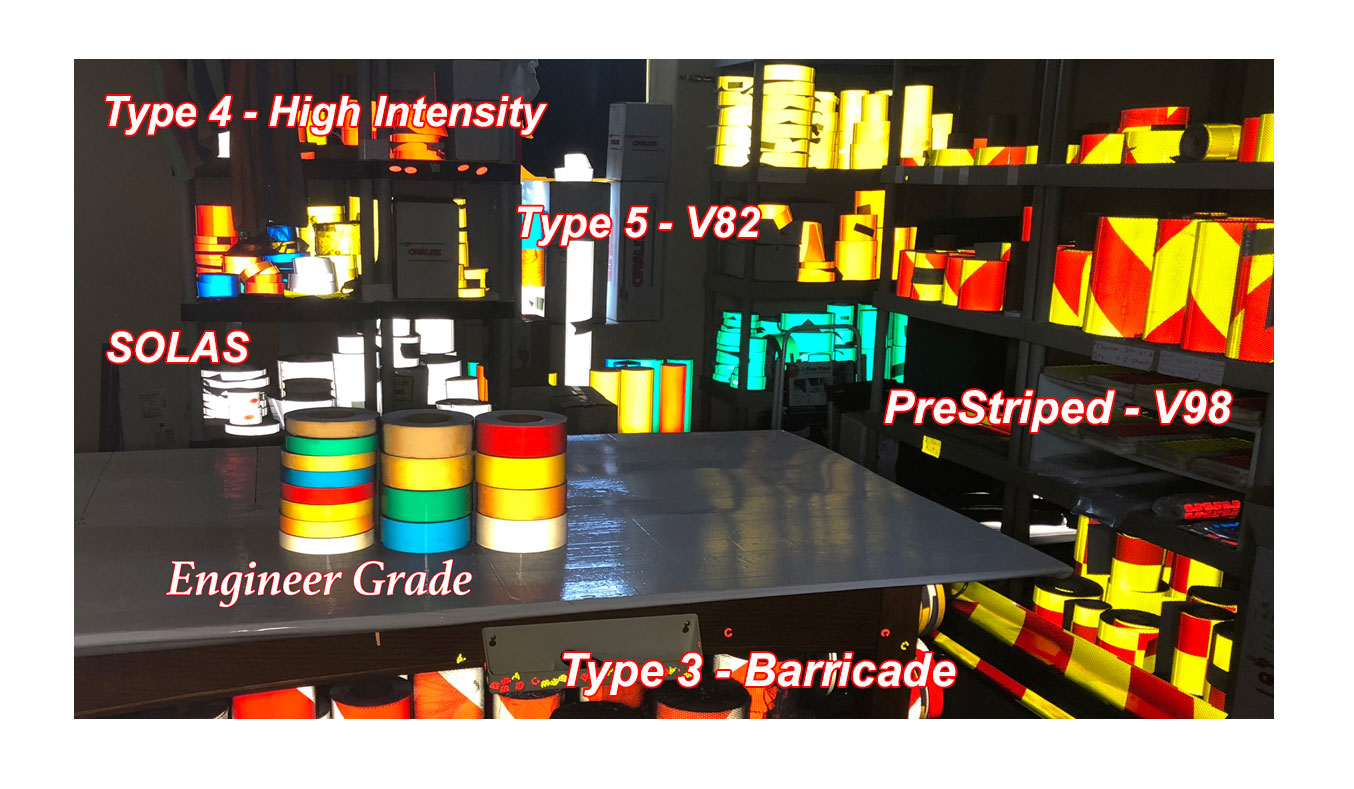
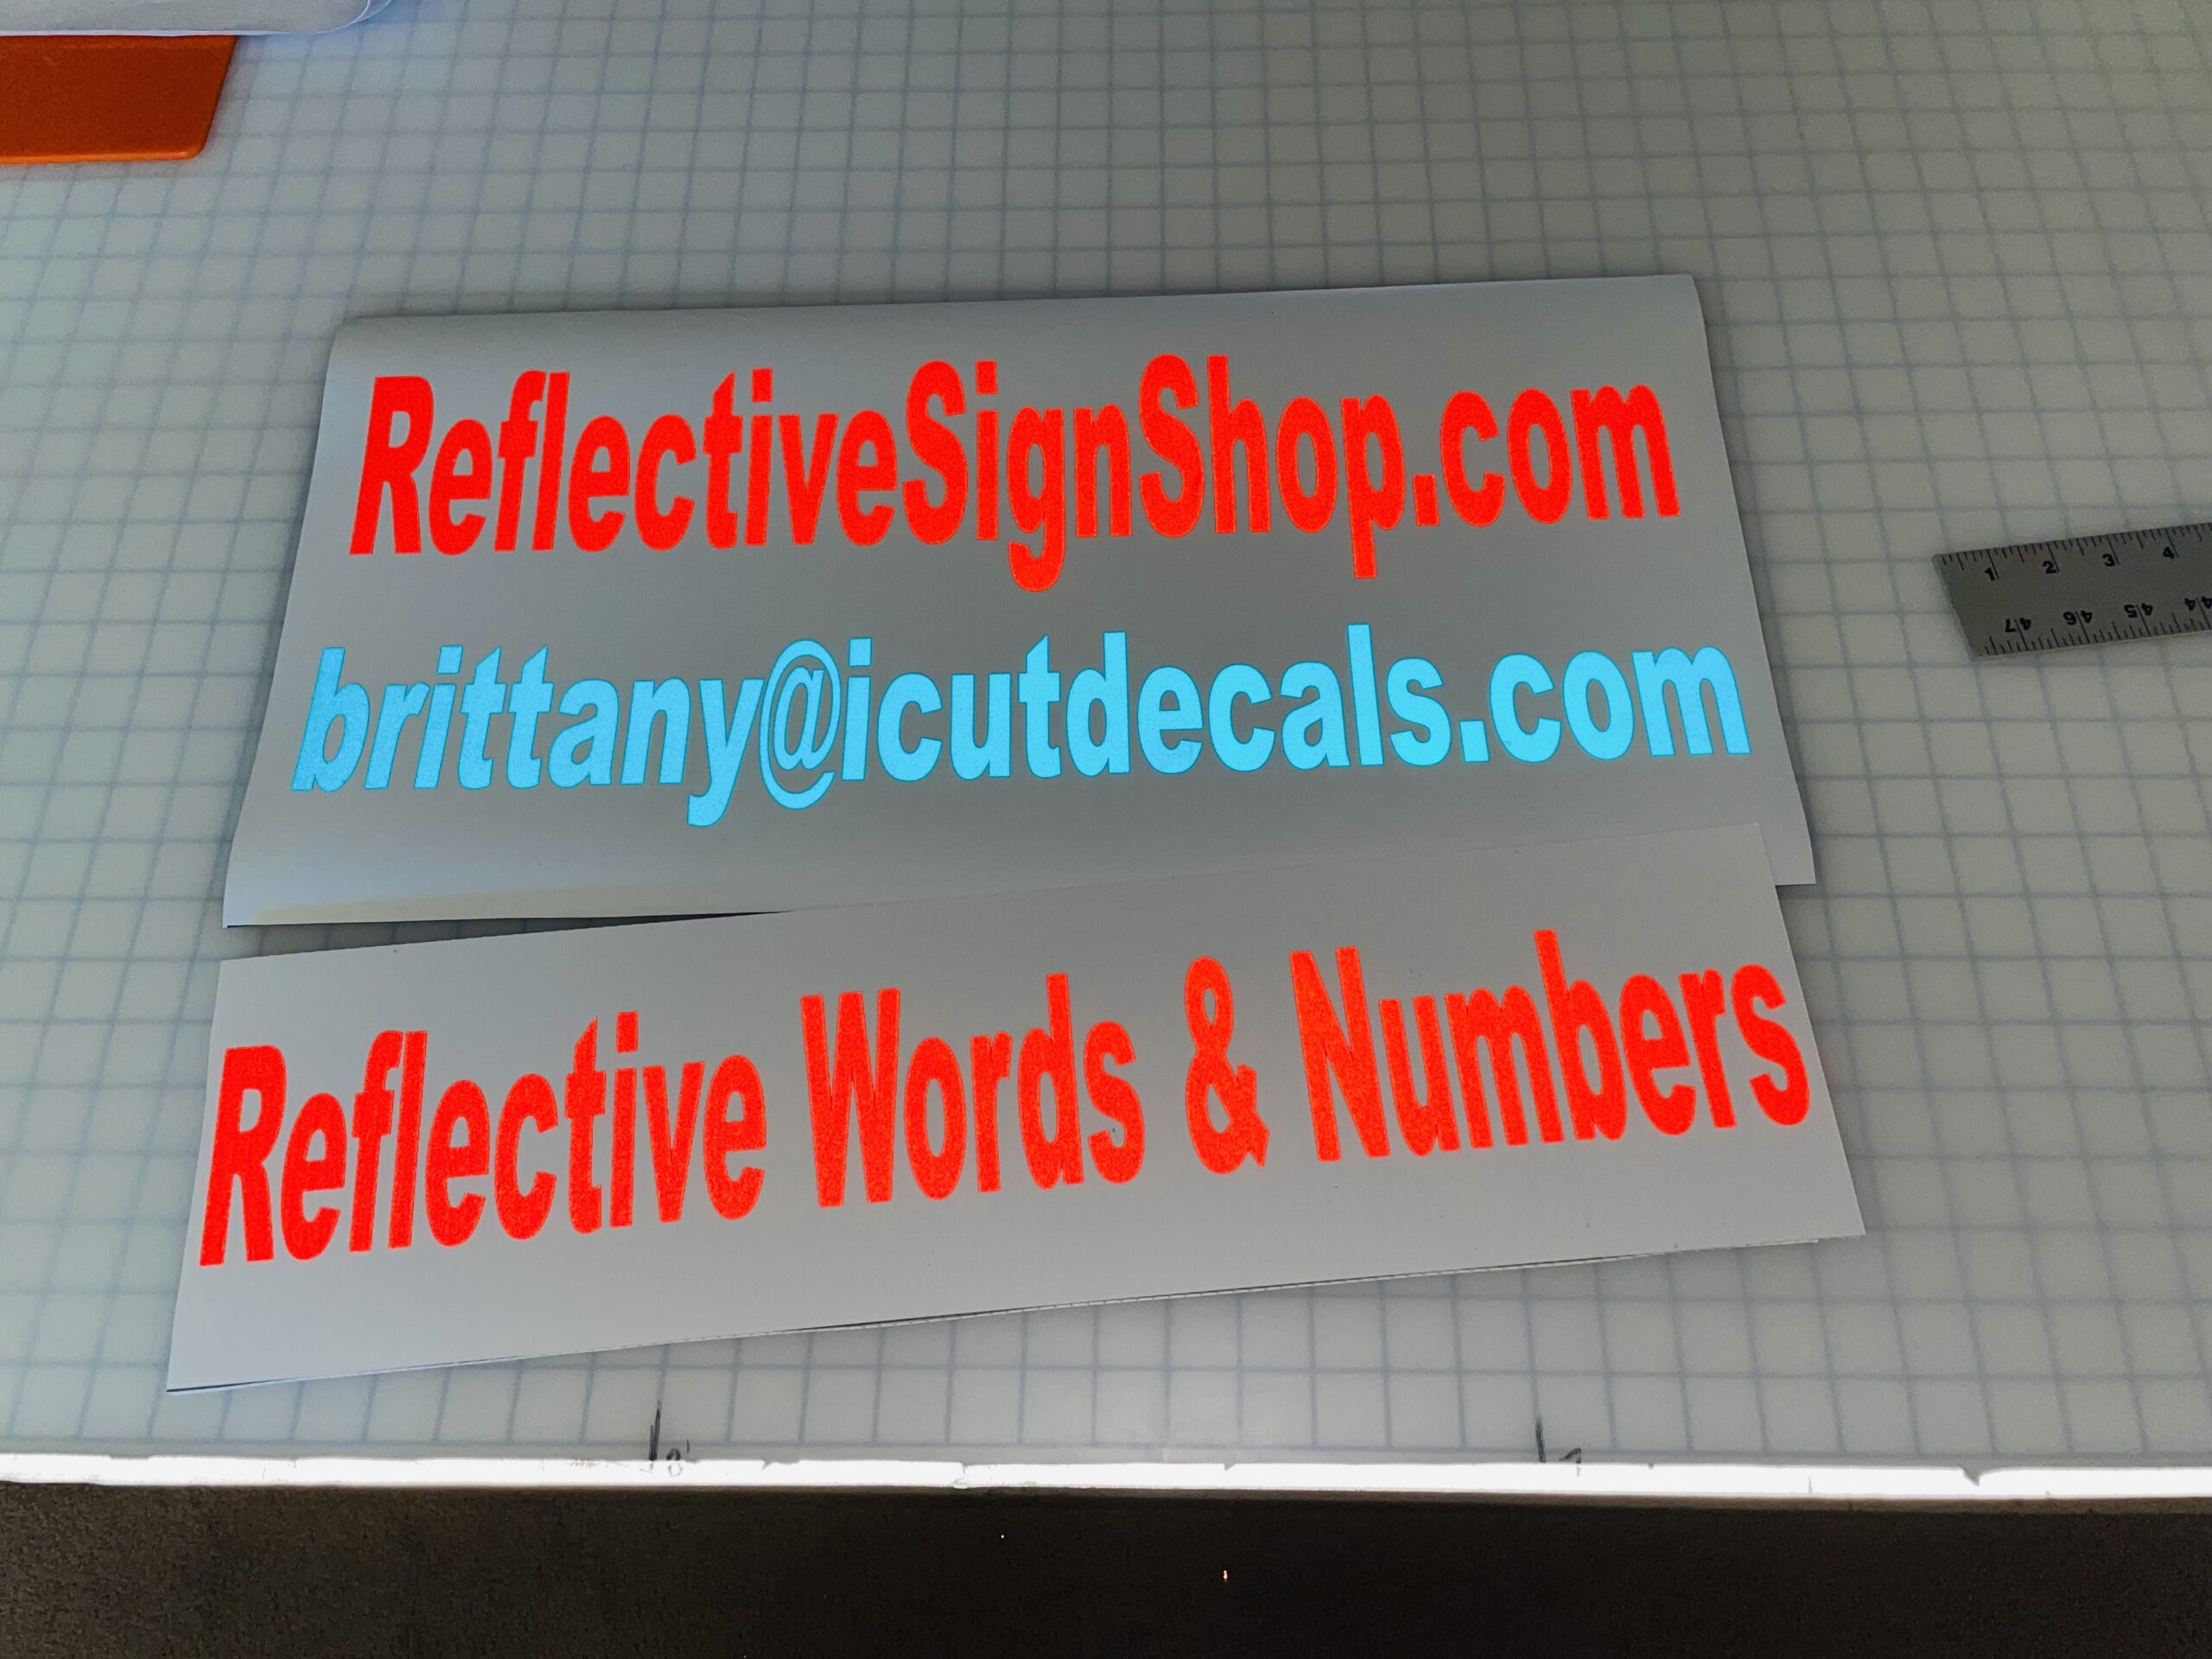
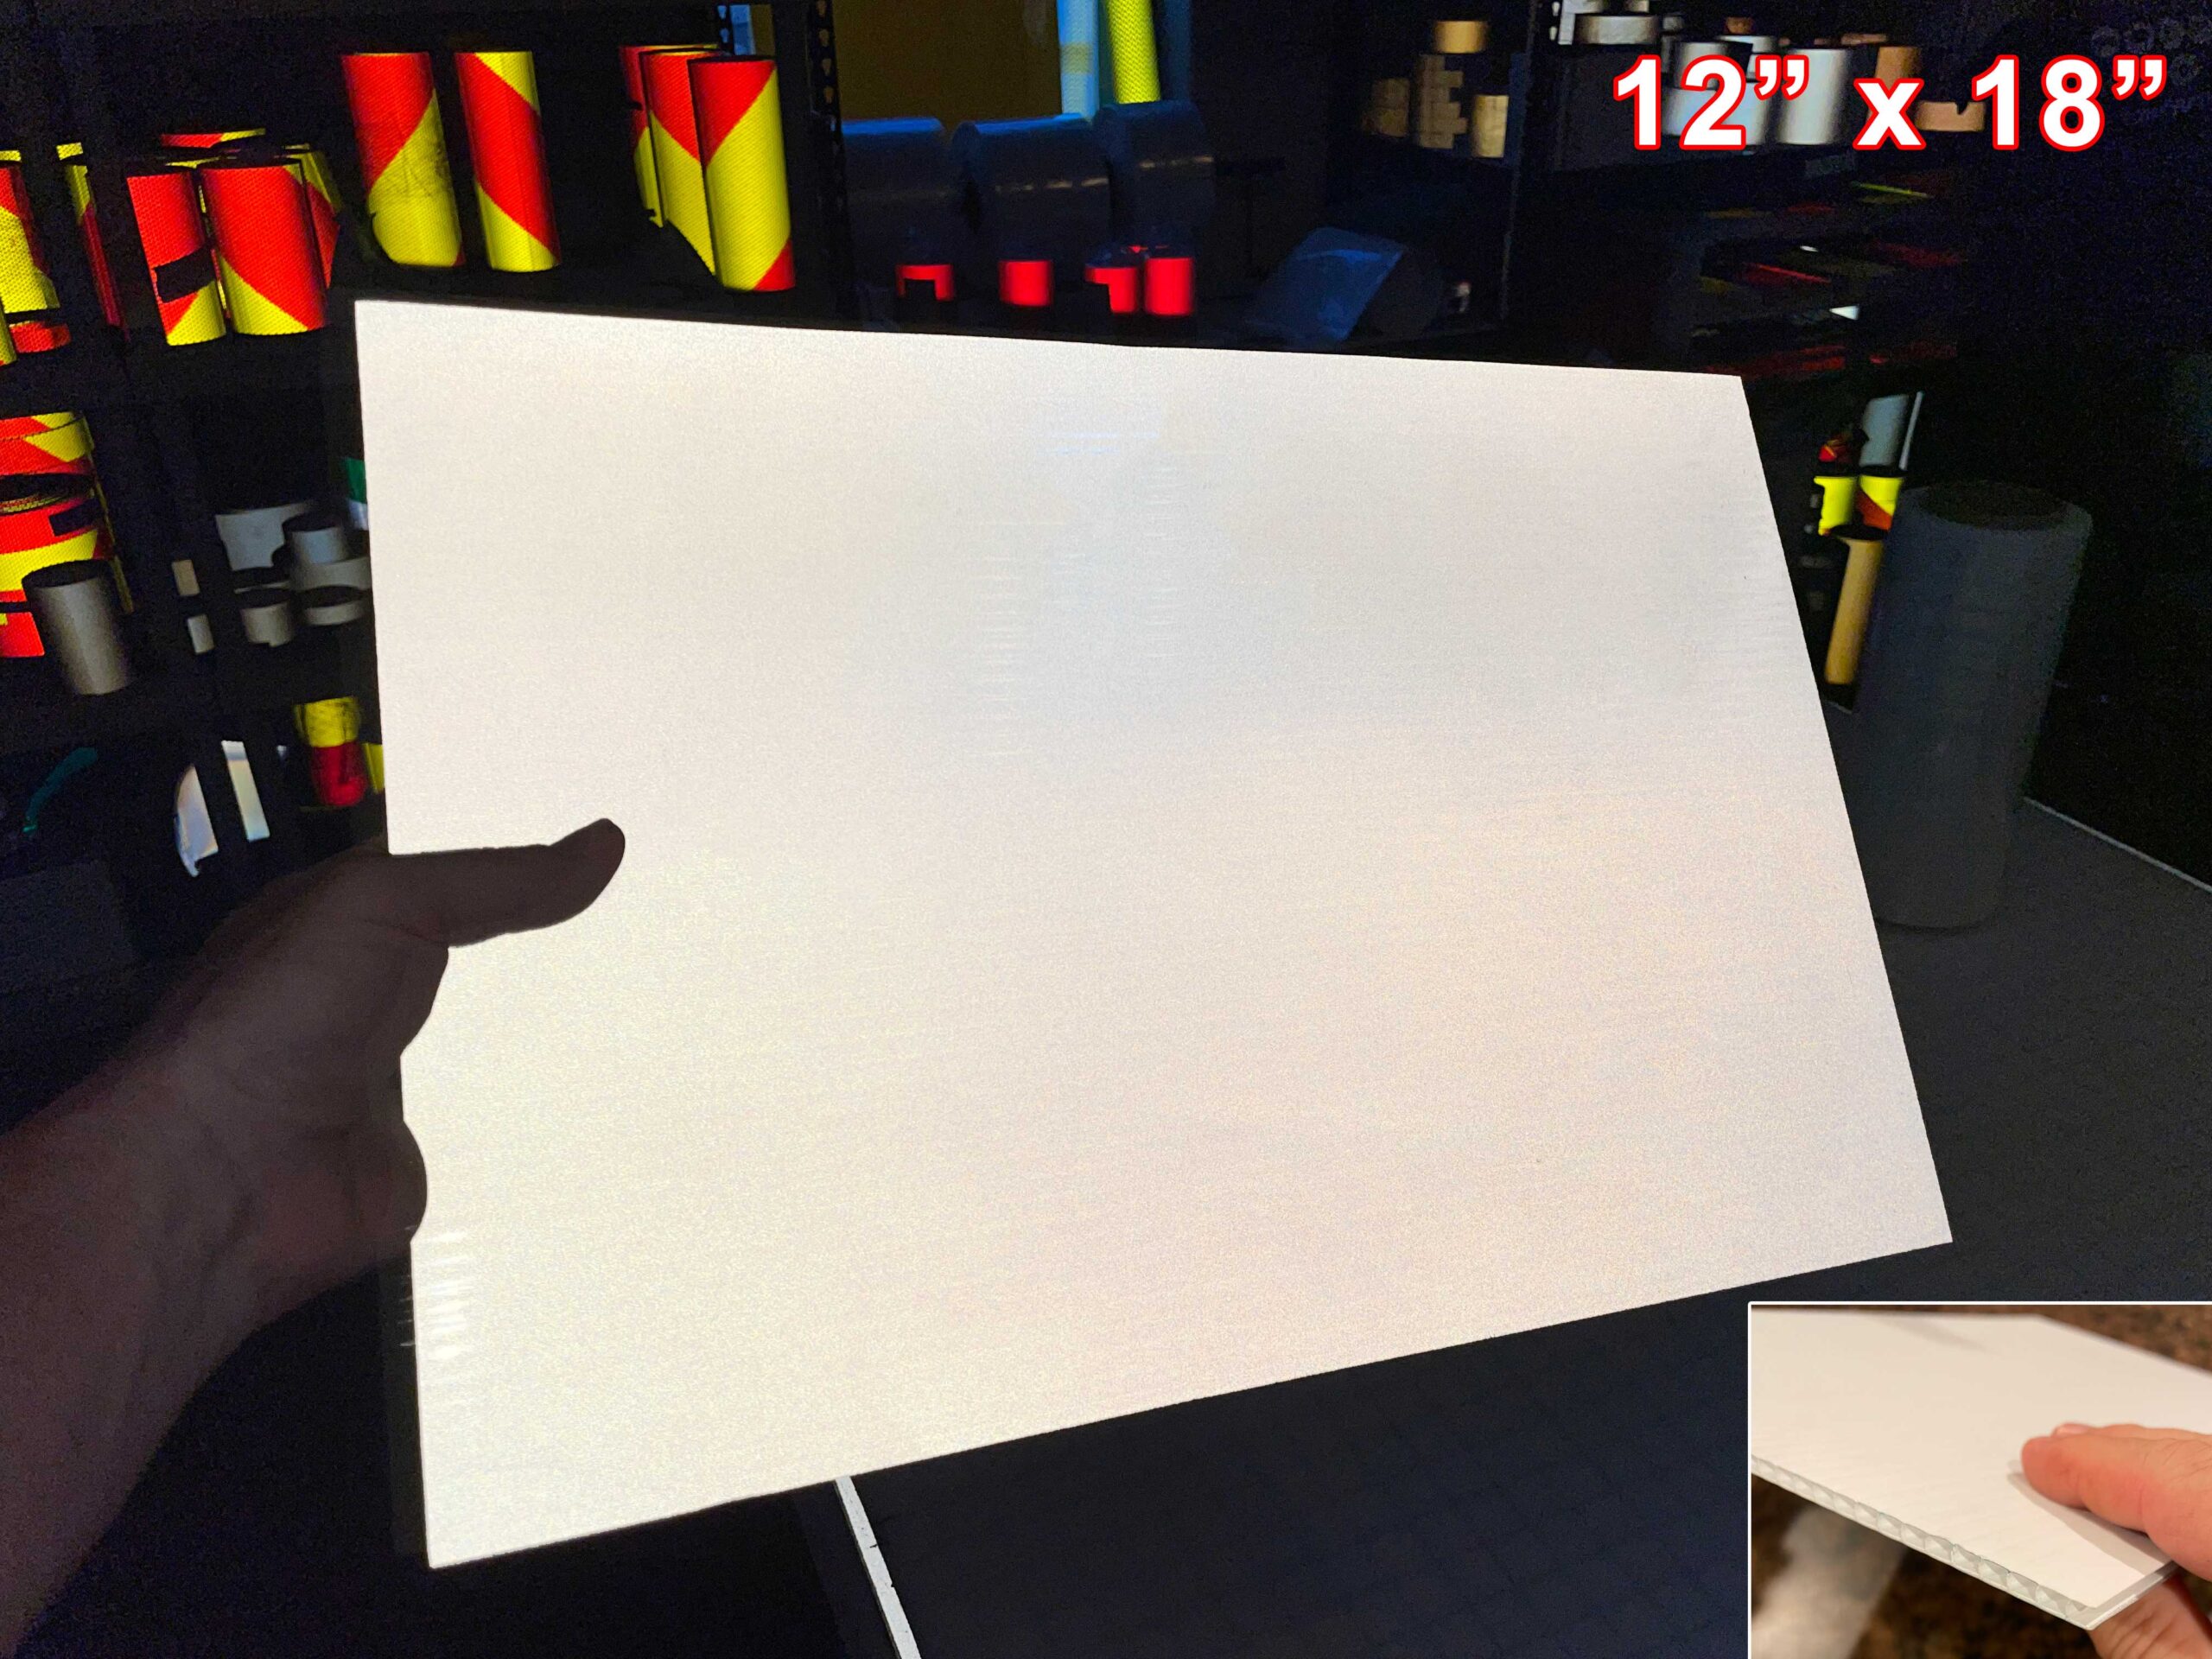
For most standard non highway reflective signs, engineer grade is still used extensively. Engineer grade comes in the most colors, and is the best material for cutting with a computer controlled plotter. This is the film we use for our custom retro reflective signs. It can be seen for several hundred feet, and is nice and vivid.
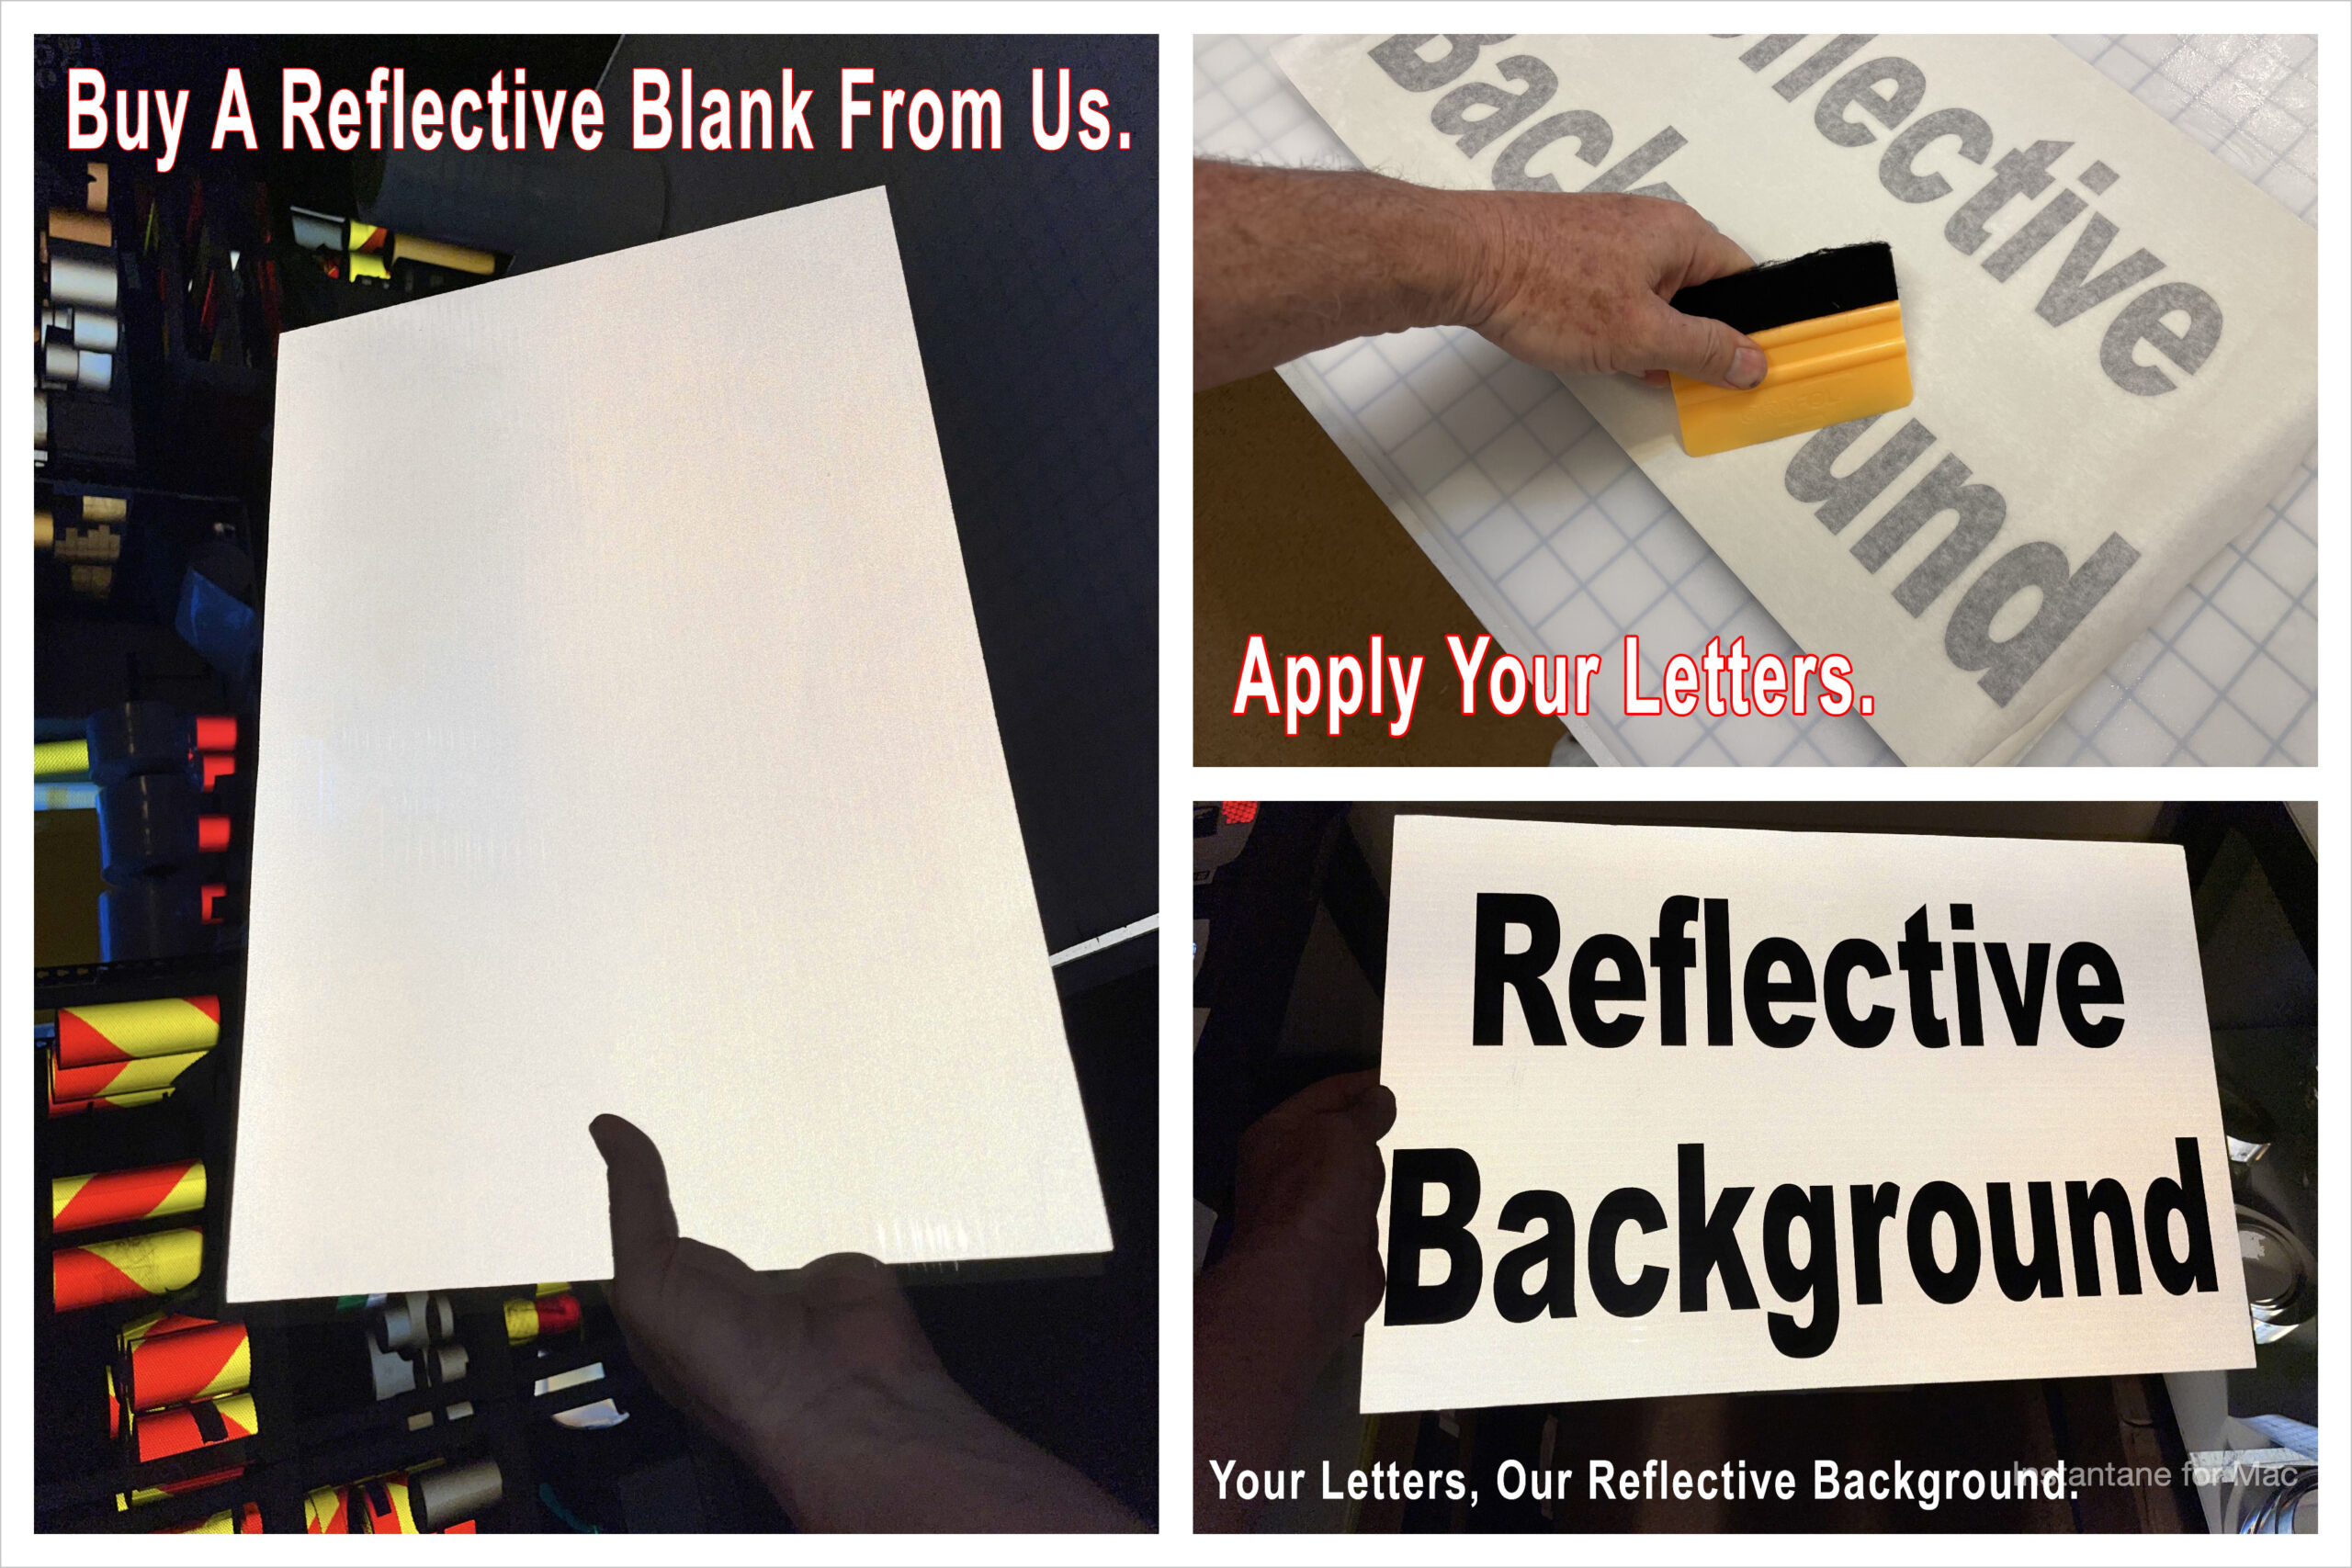
 After lining up the letters on the magnetic material (which we cut to size), we hinge the letters, peel off the backing paper, and squeegee on. This is done dry with no application fluid in order to maintain the integrity of the reflective material. After we apply the letters, the transfer tape is pulled off to reveal the design.
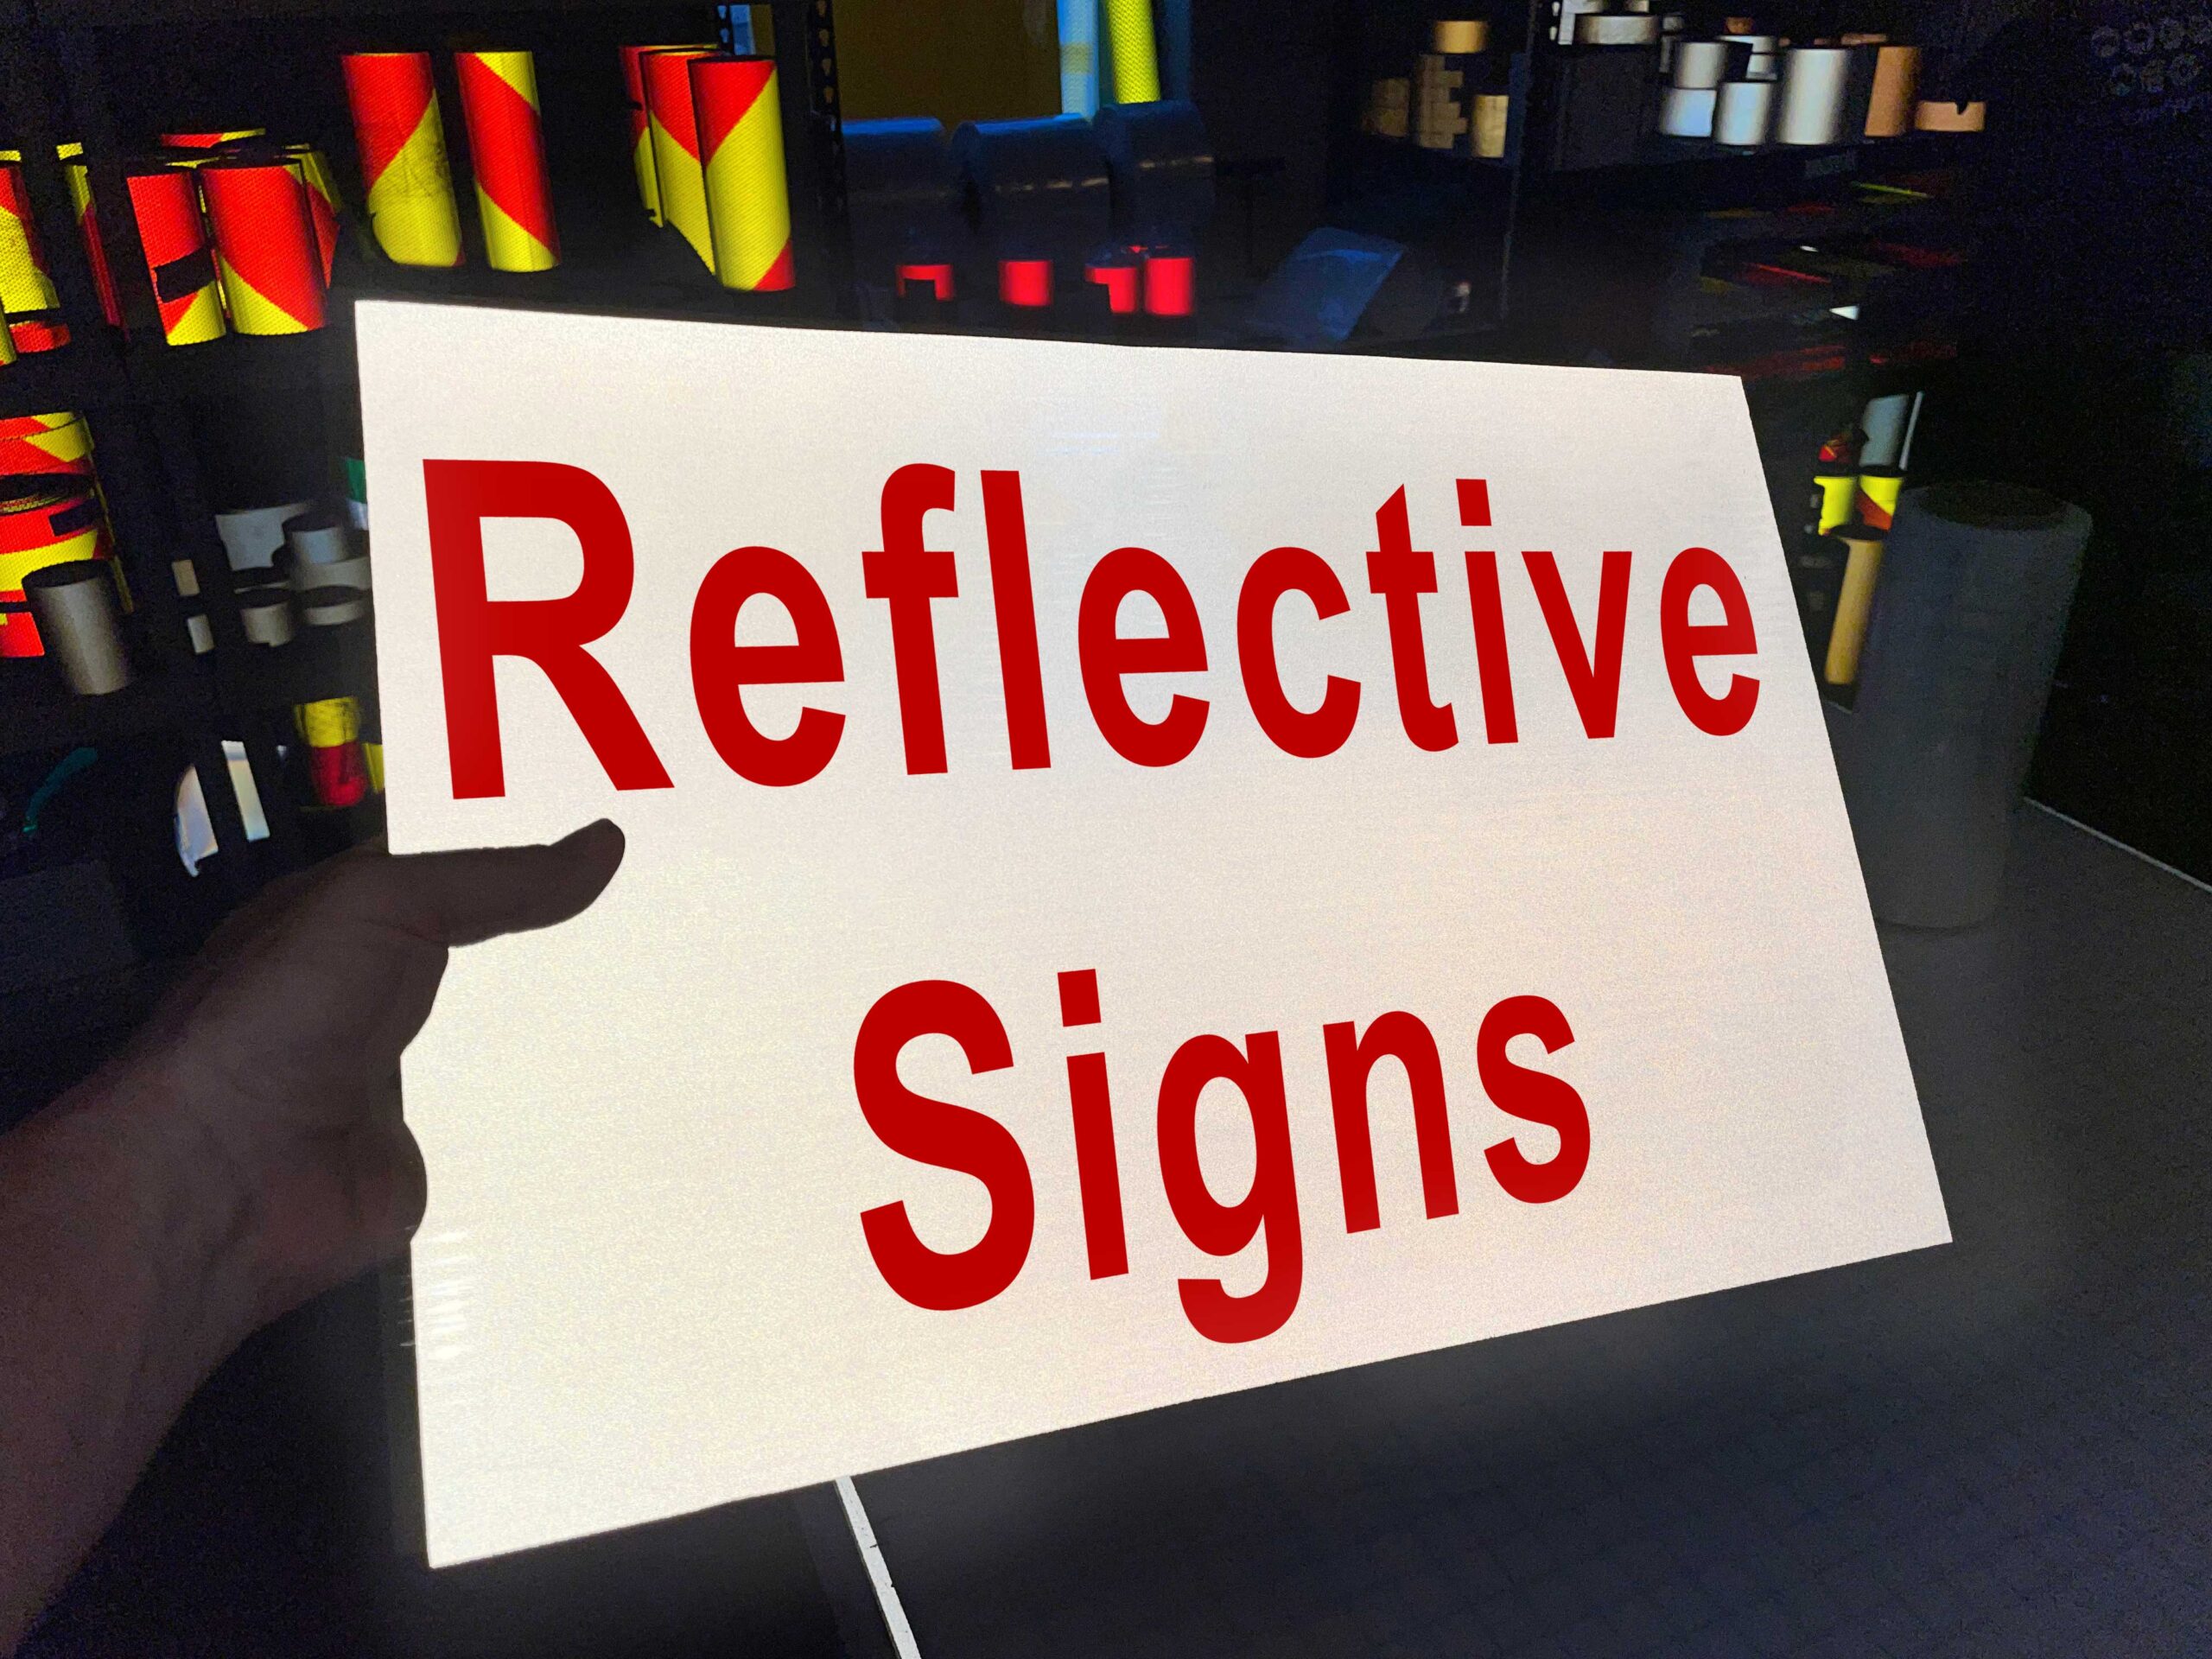
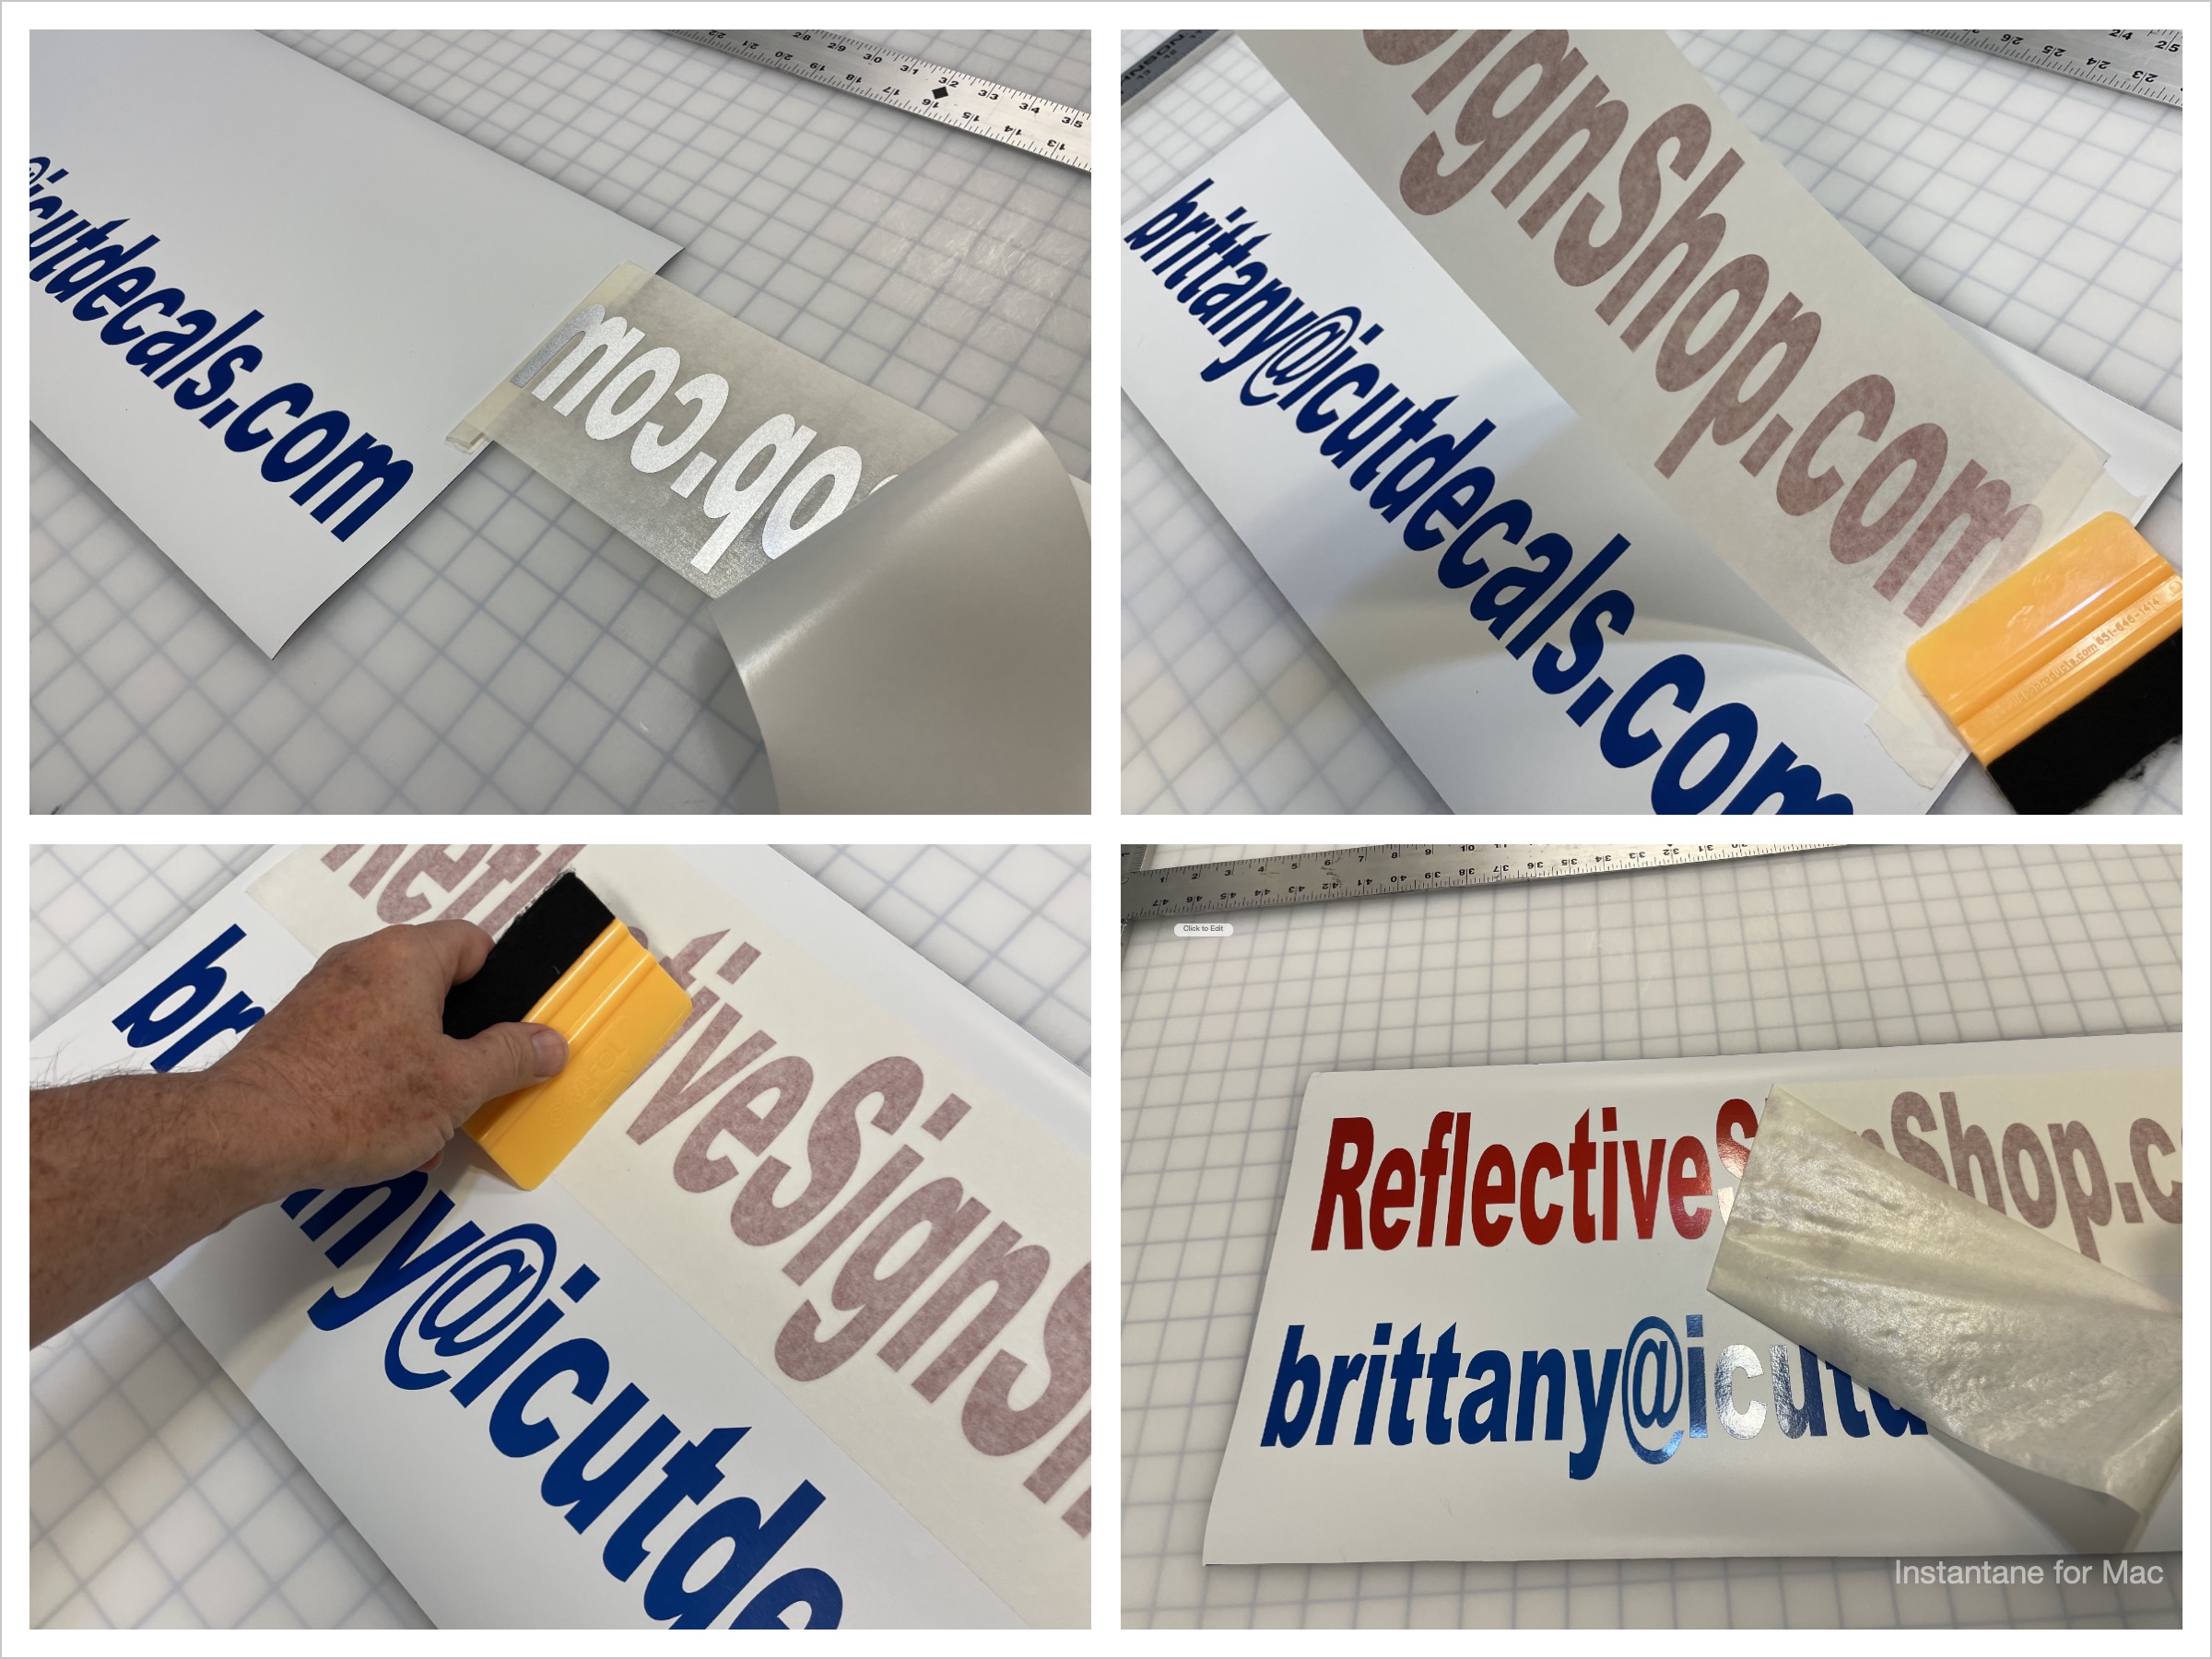 After the transfer tape is removed, the sign is ready to ship. As you can see, it is vivid in the daytime, and very bright at night. By using reflective signage, you can double your signs effectiveness by making it visible 24 hours a day. When all other signs go dark, yours lights up.
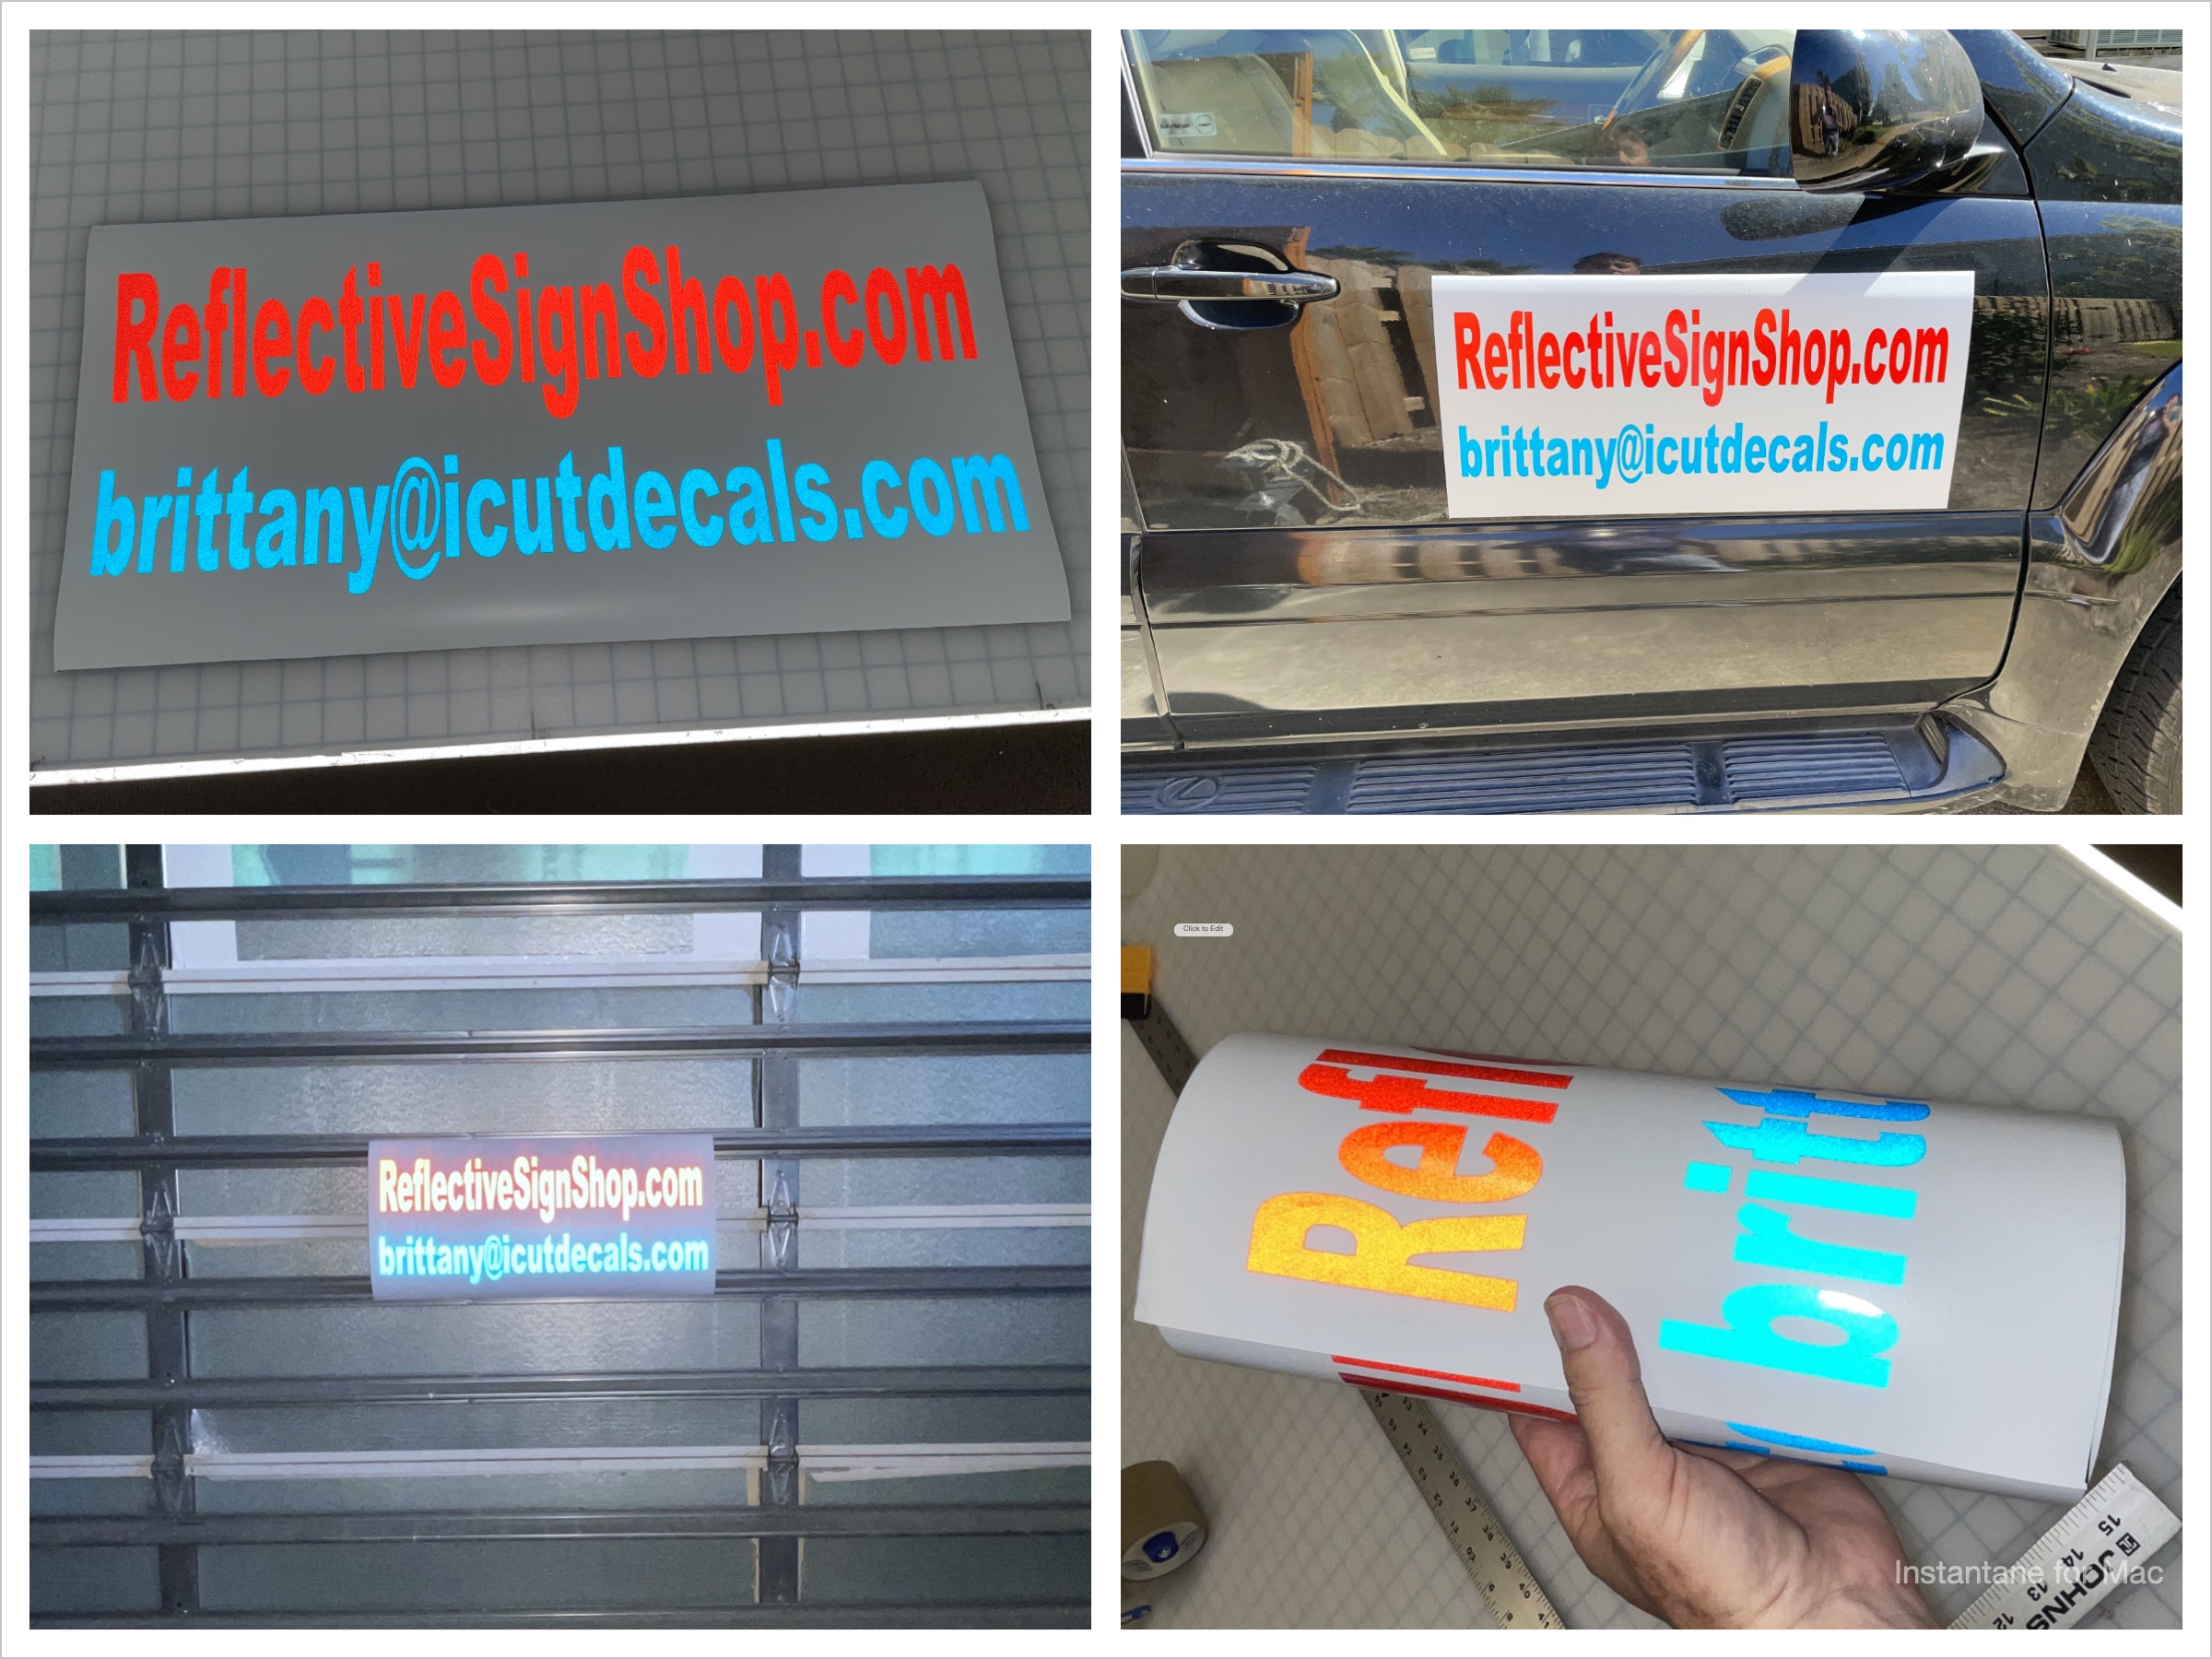 As previously stated, these signs can be applied to any metal surface that can receive and hold a magnetic (not fiberglass, aluminum, or stainless steel) Reflective signs can be seen 24 hours a day and are especially effective at night when all other signs go dark. We have these in our online store. Link on the left top of this site.
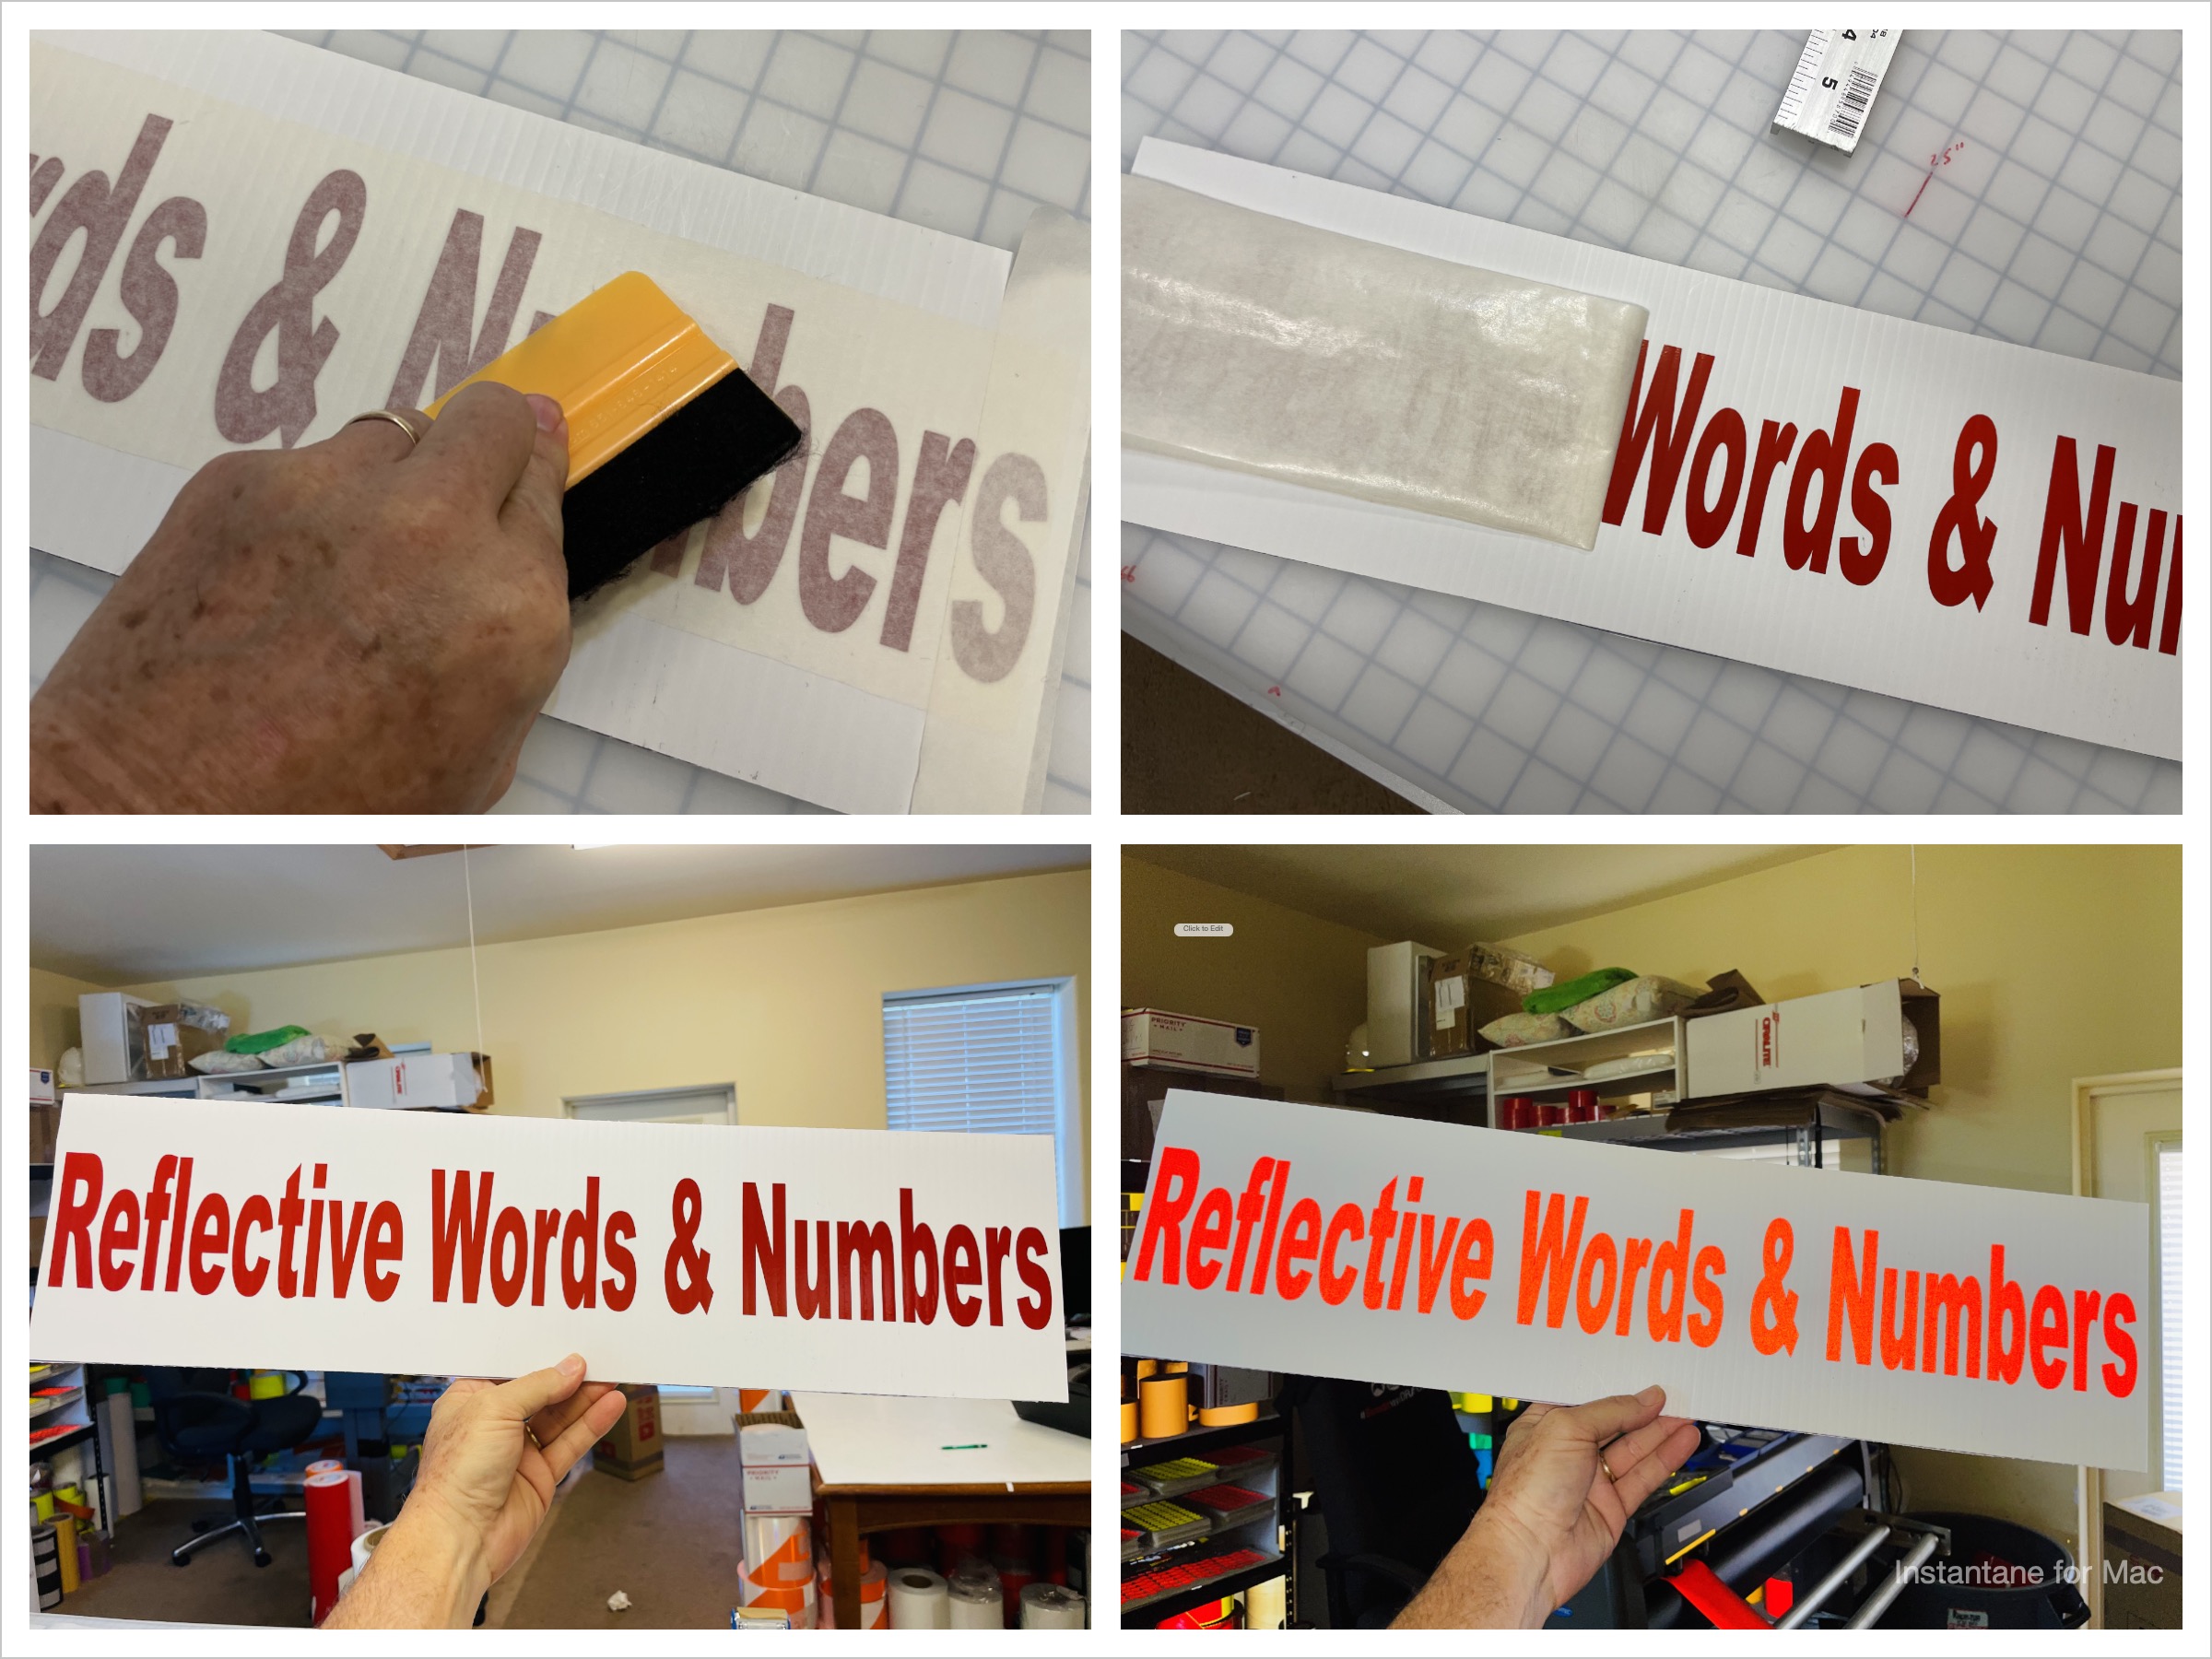
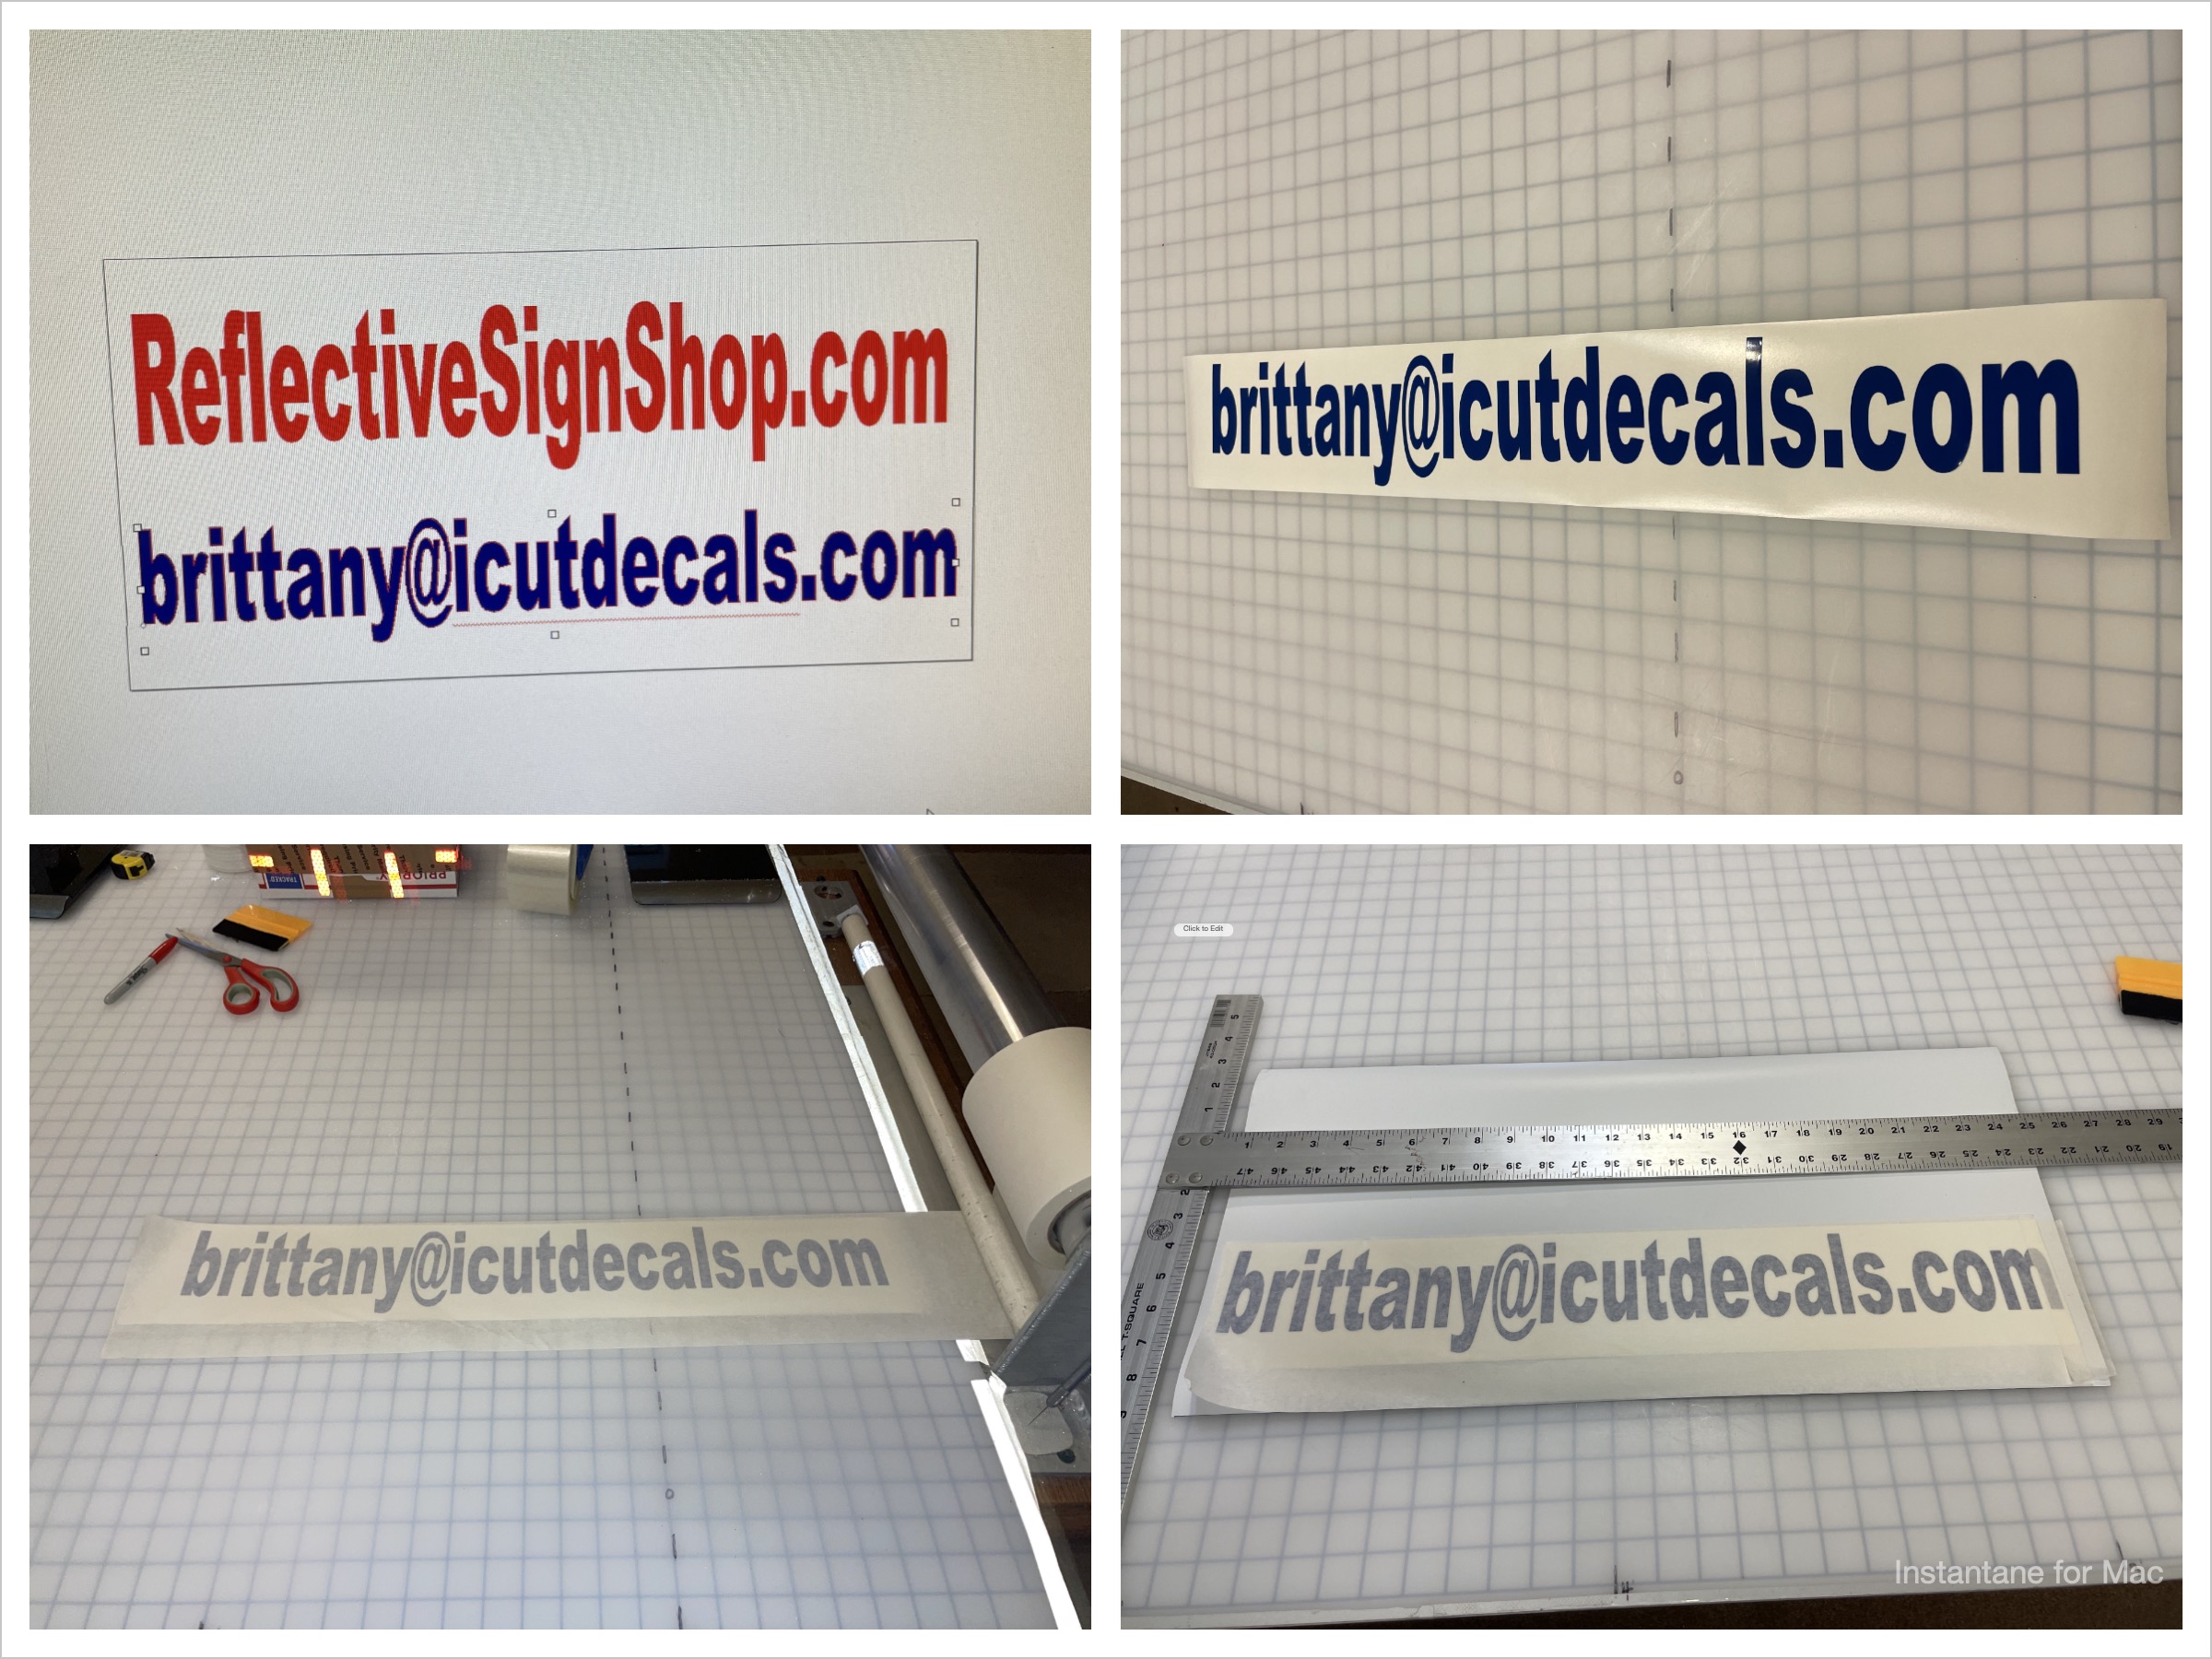
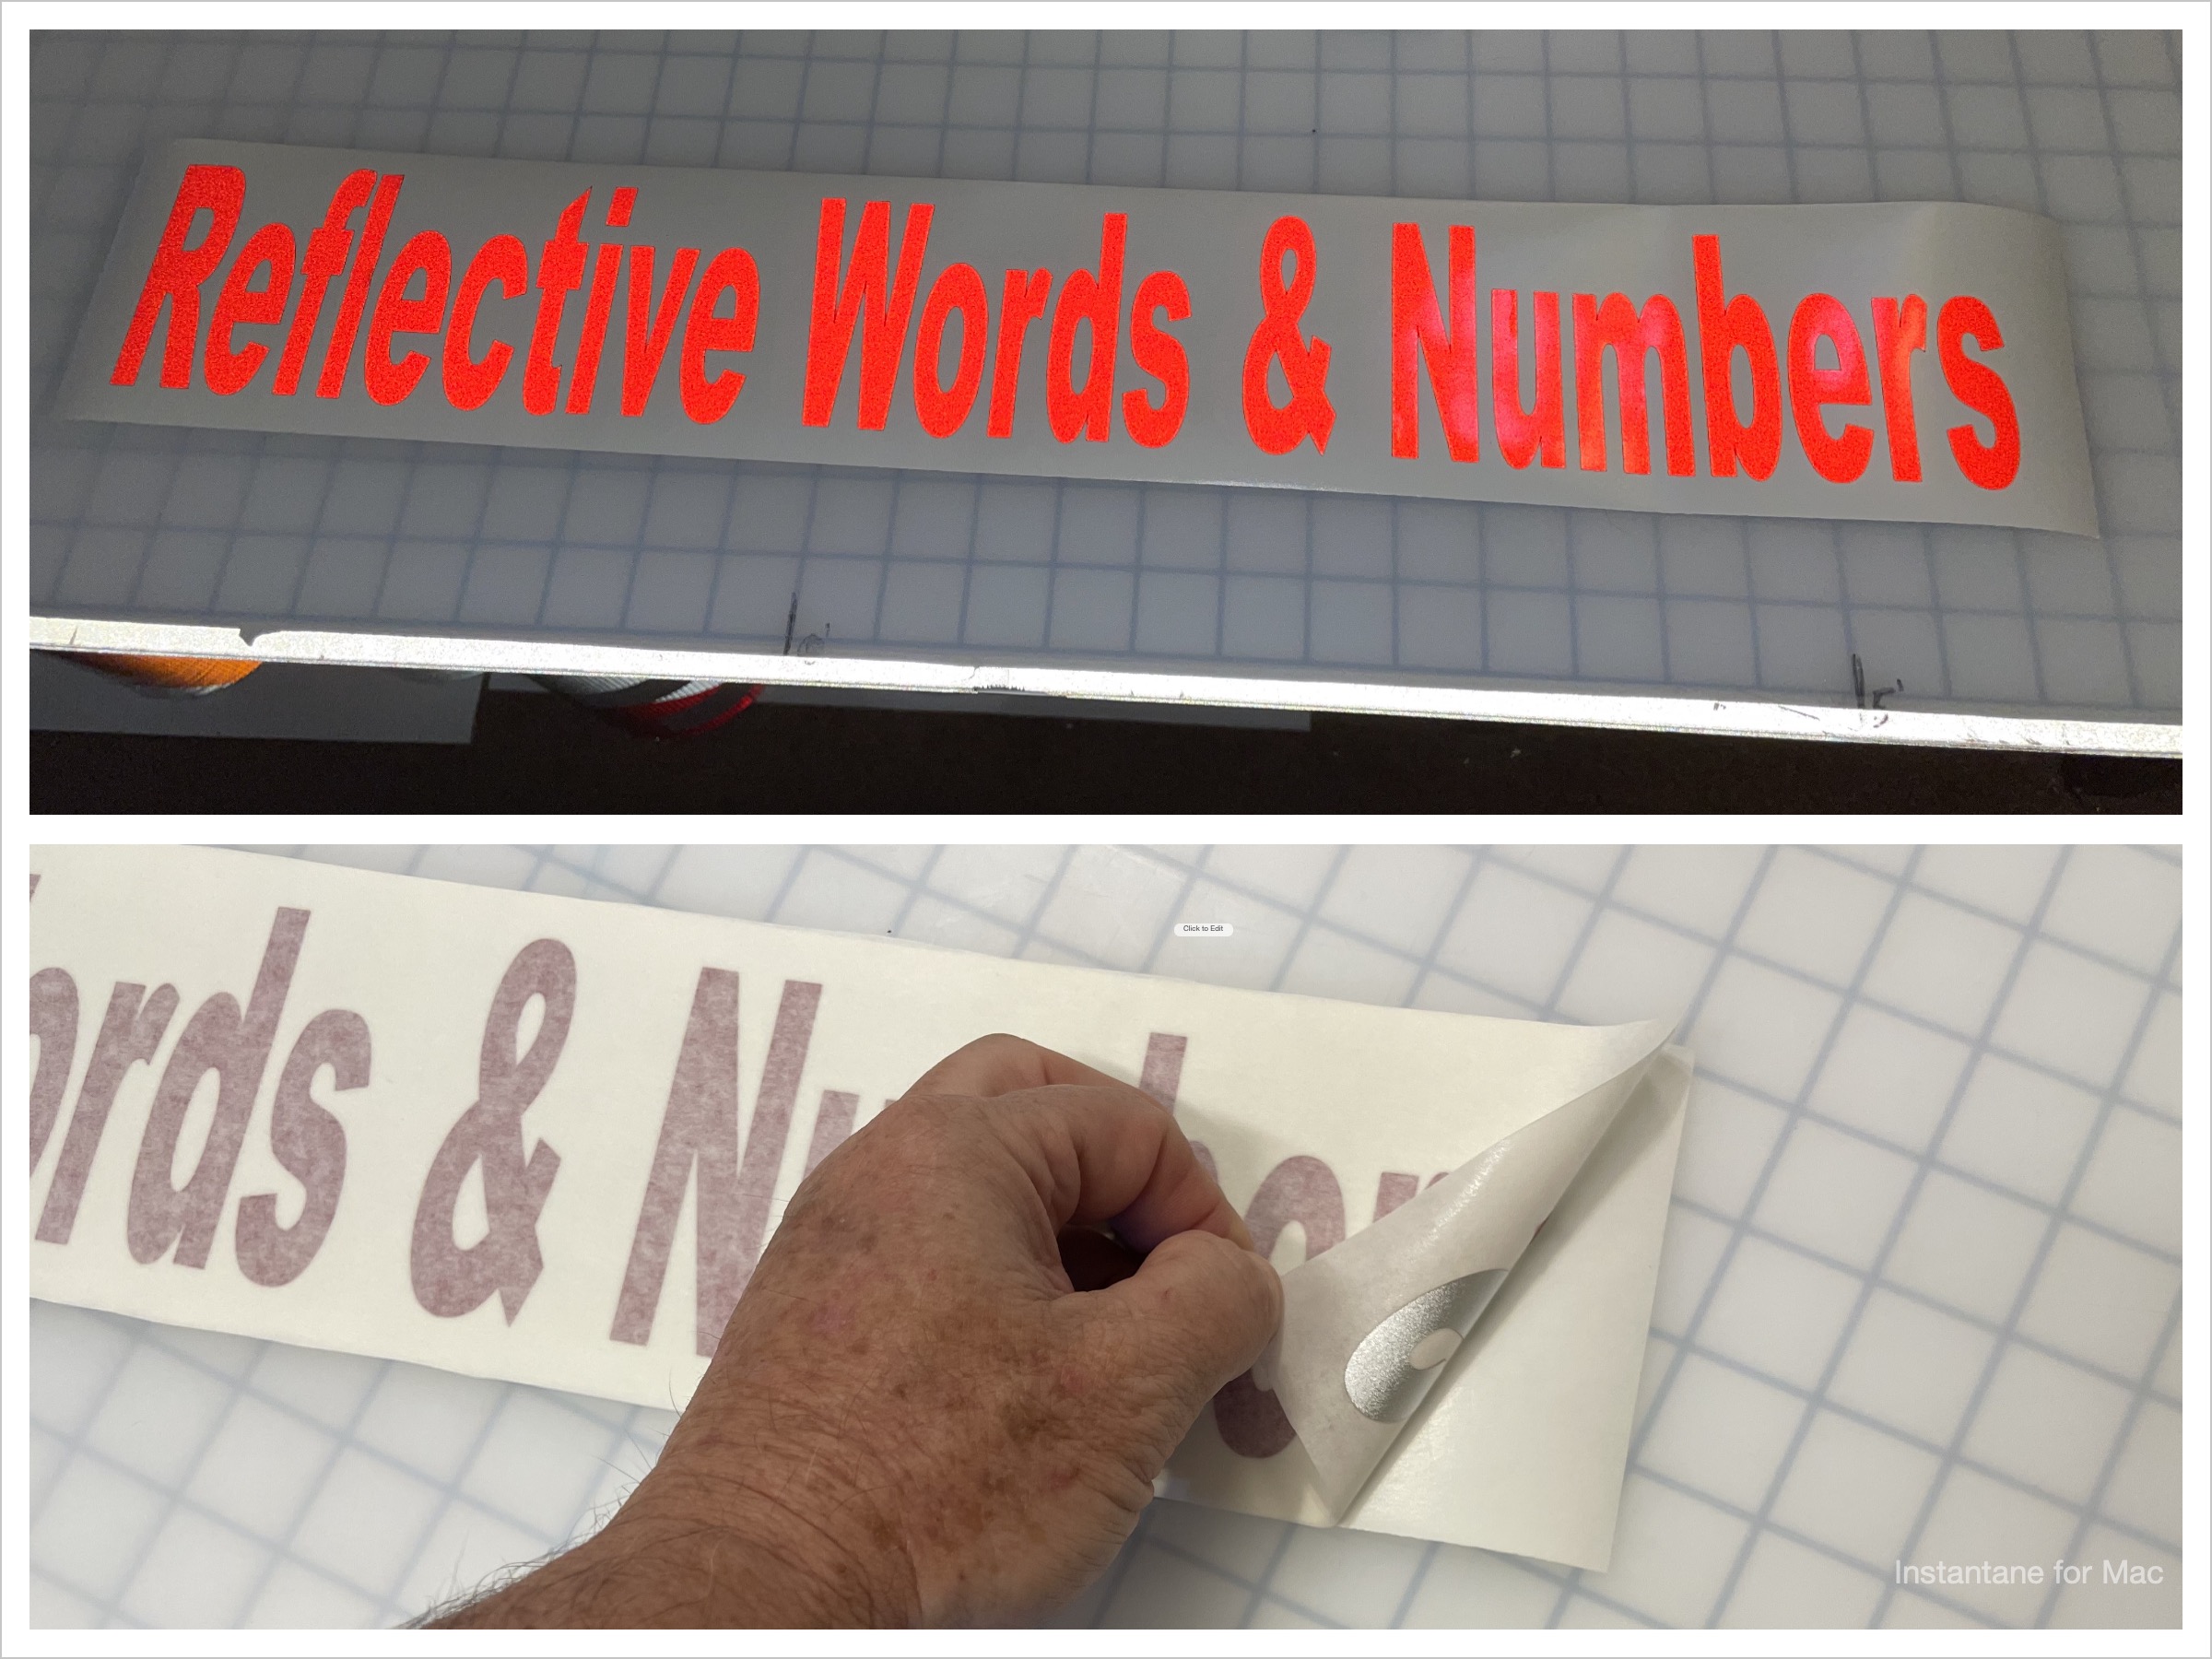 In the next collage, you can seen how the end of the phrase is trimmed by the user, and how the phrase is centered on the substrate. (sign backing) In this case, the substrate is a piece of Coroplast or Political sign material. Once centered, a piece of masking tape is used to secure one end. This is called the hinge method.
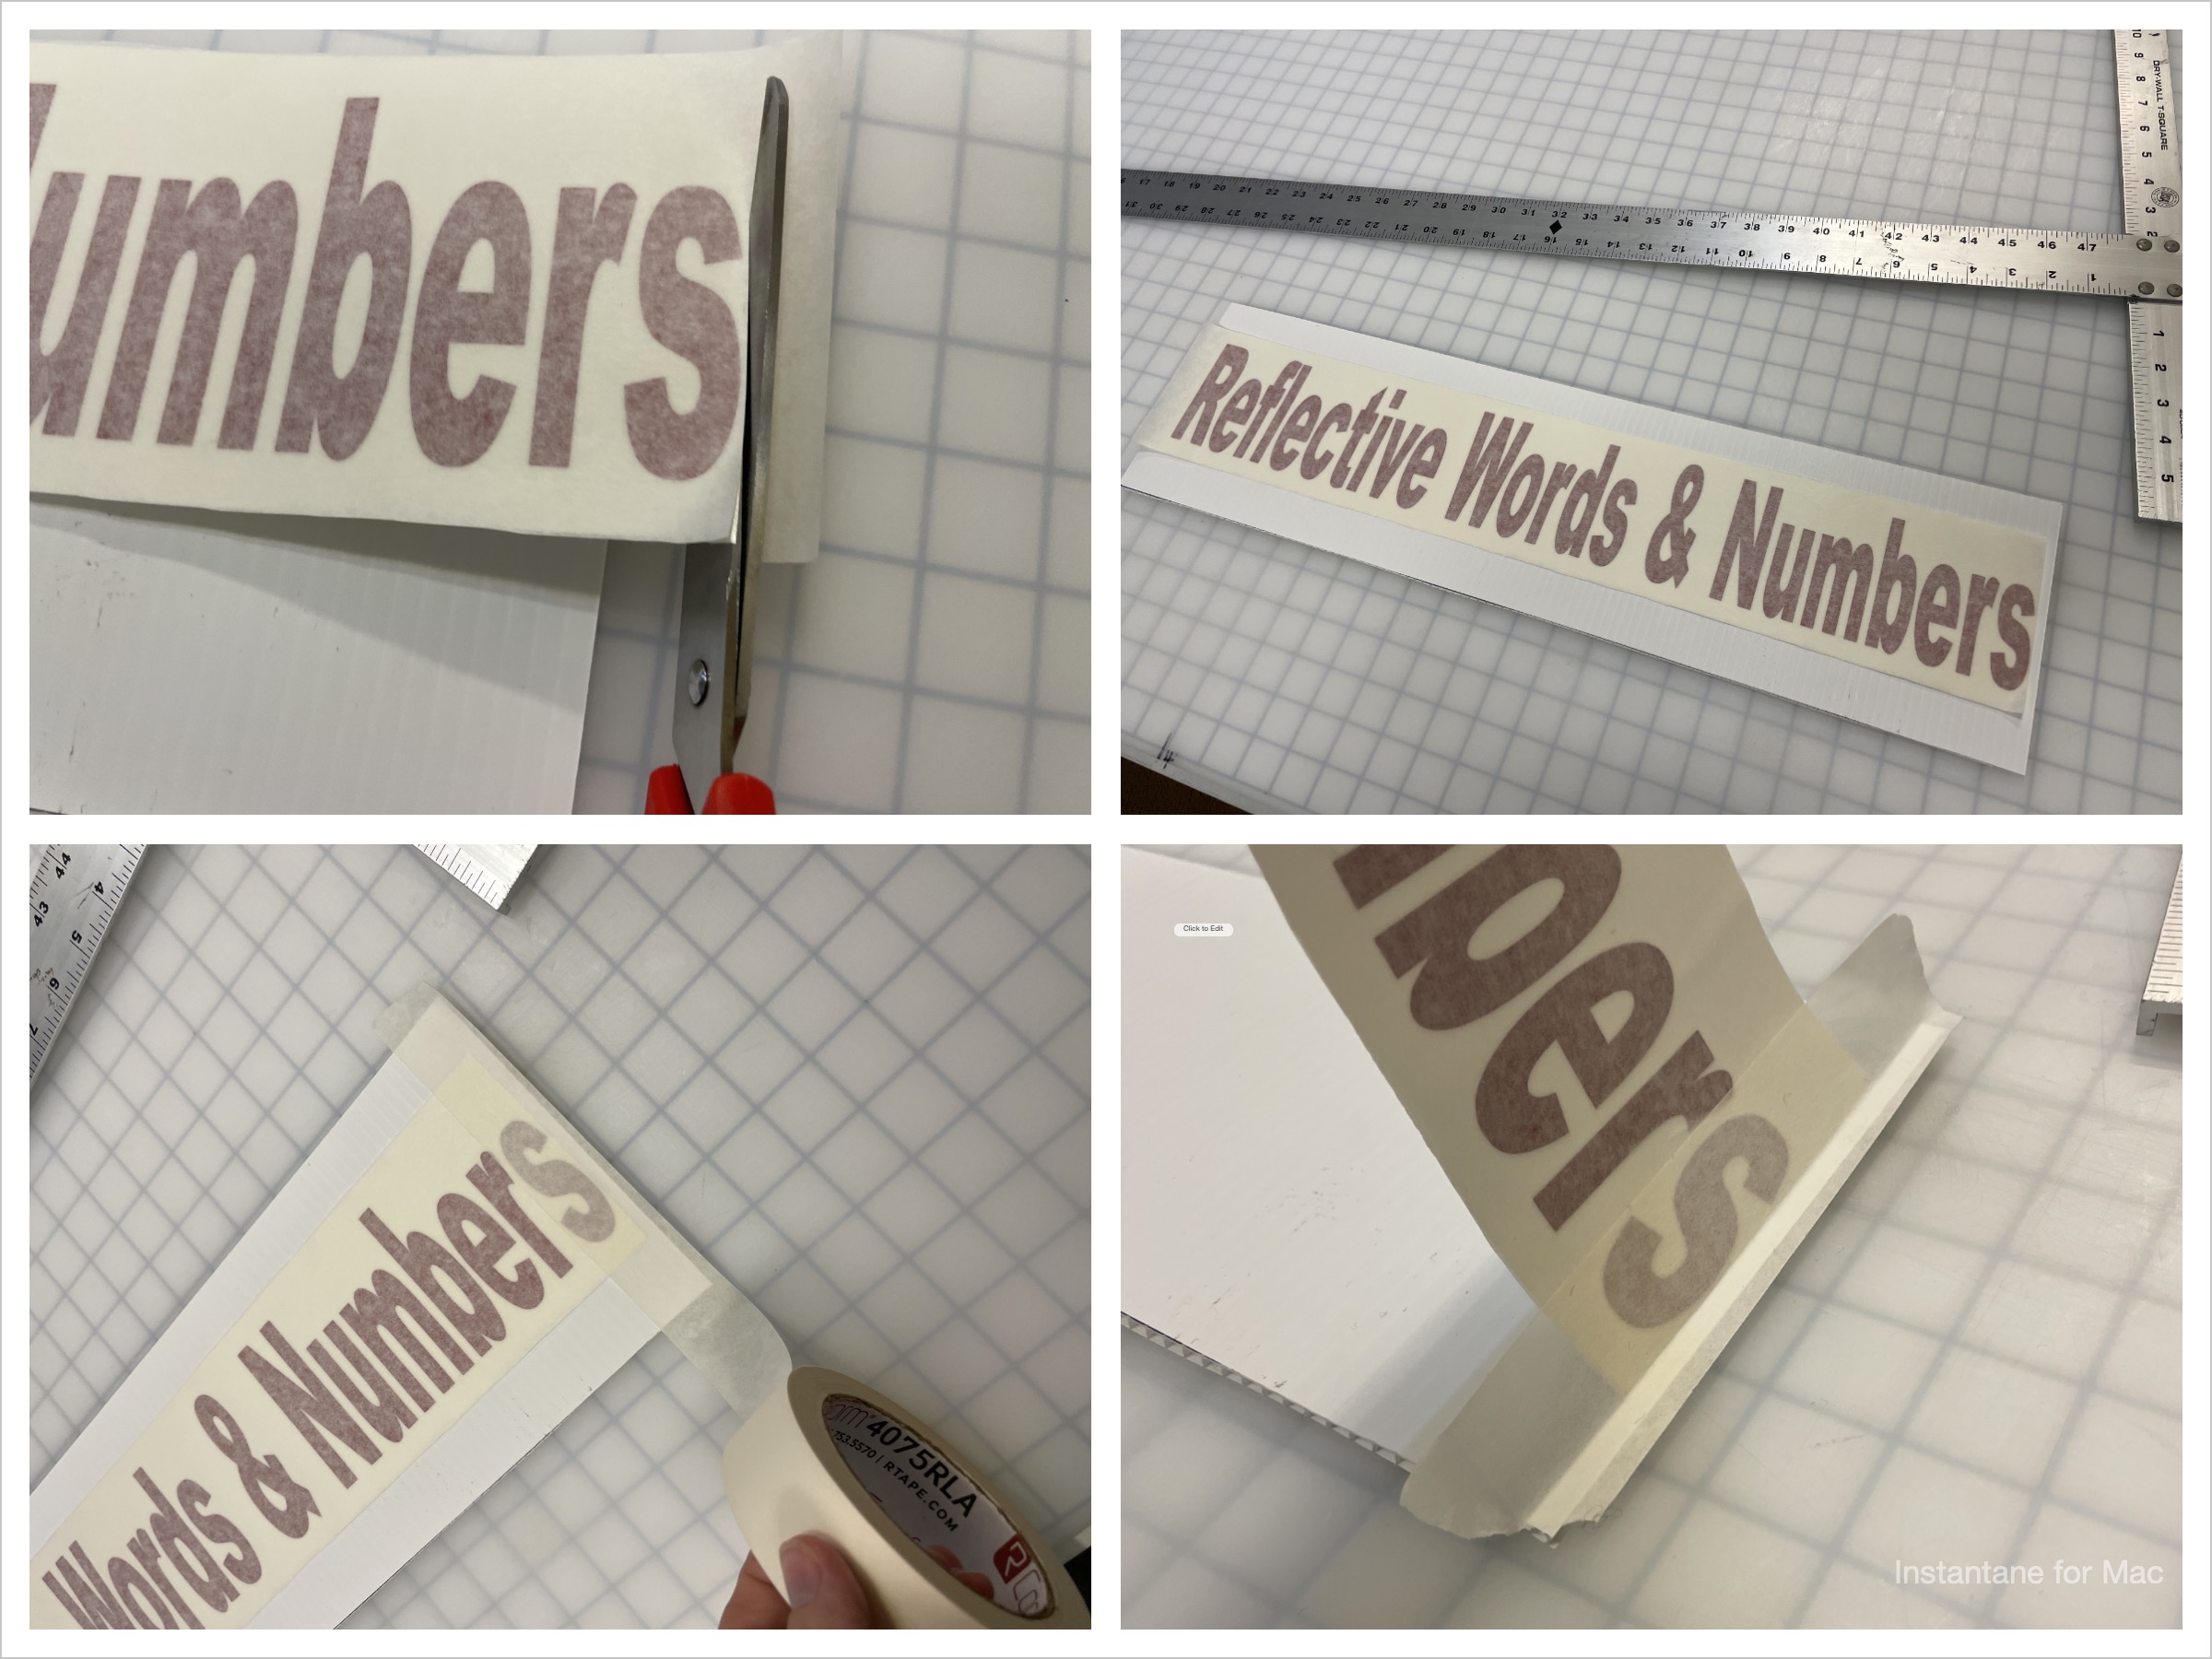 As you can see below, the next step is to peel off the release liner or wax paper from the back of the decal. Then simply hold the letters up with one hand, and squeegee them down firmly as you lower the letters to the surface. Squeegeeing as you go prevents any bubbles. The squeegee should be what forces the letters to the sign. If you try to lay the letters down and then squeegee you will end up with bubbles and wrinkles.
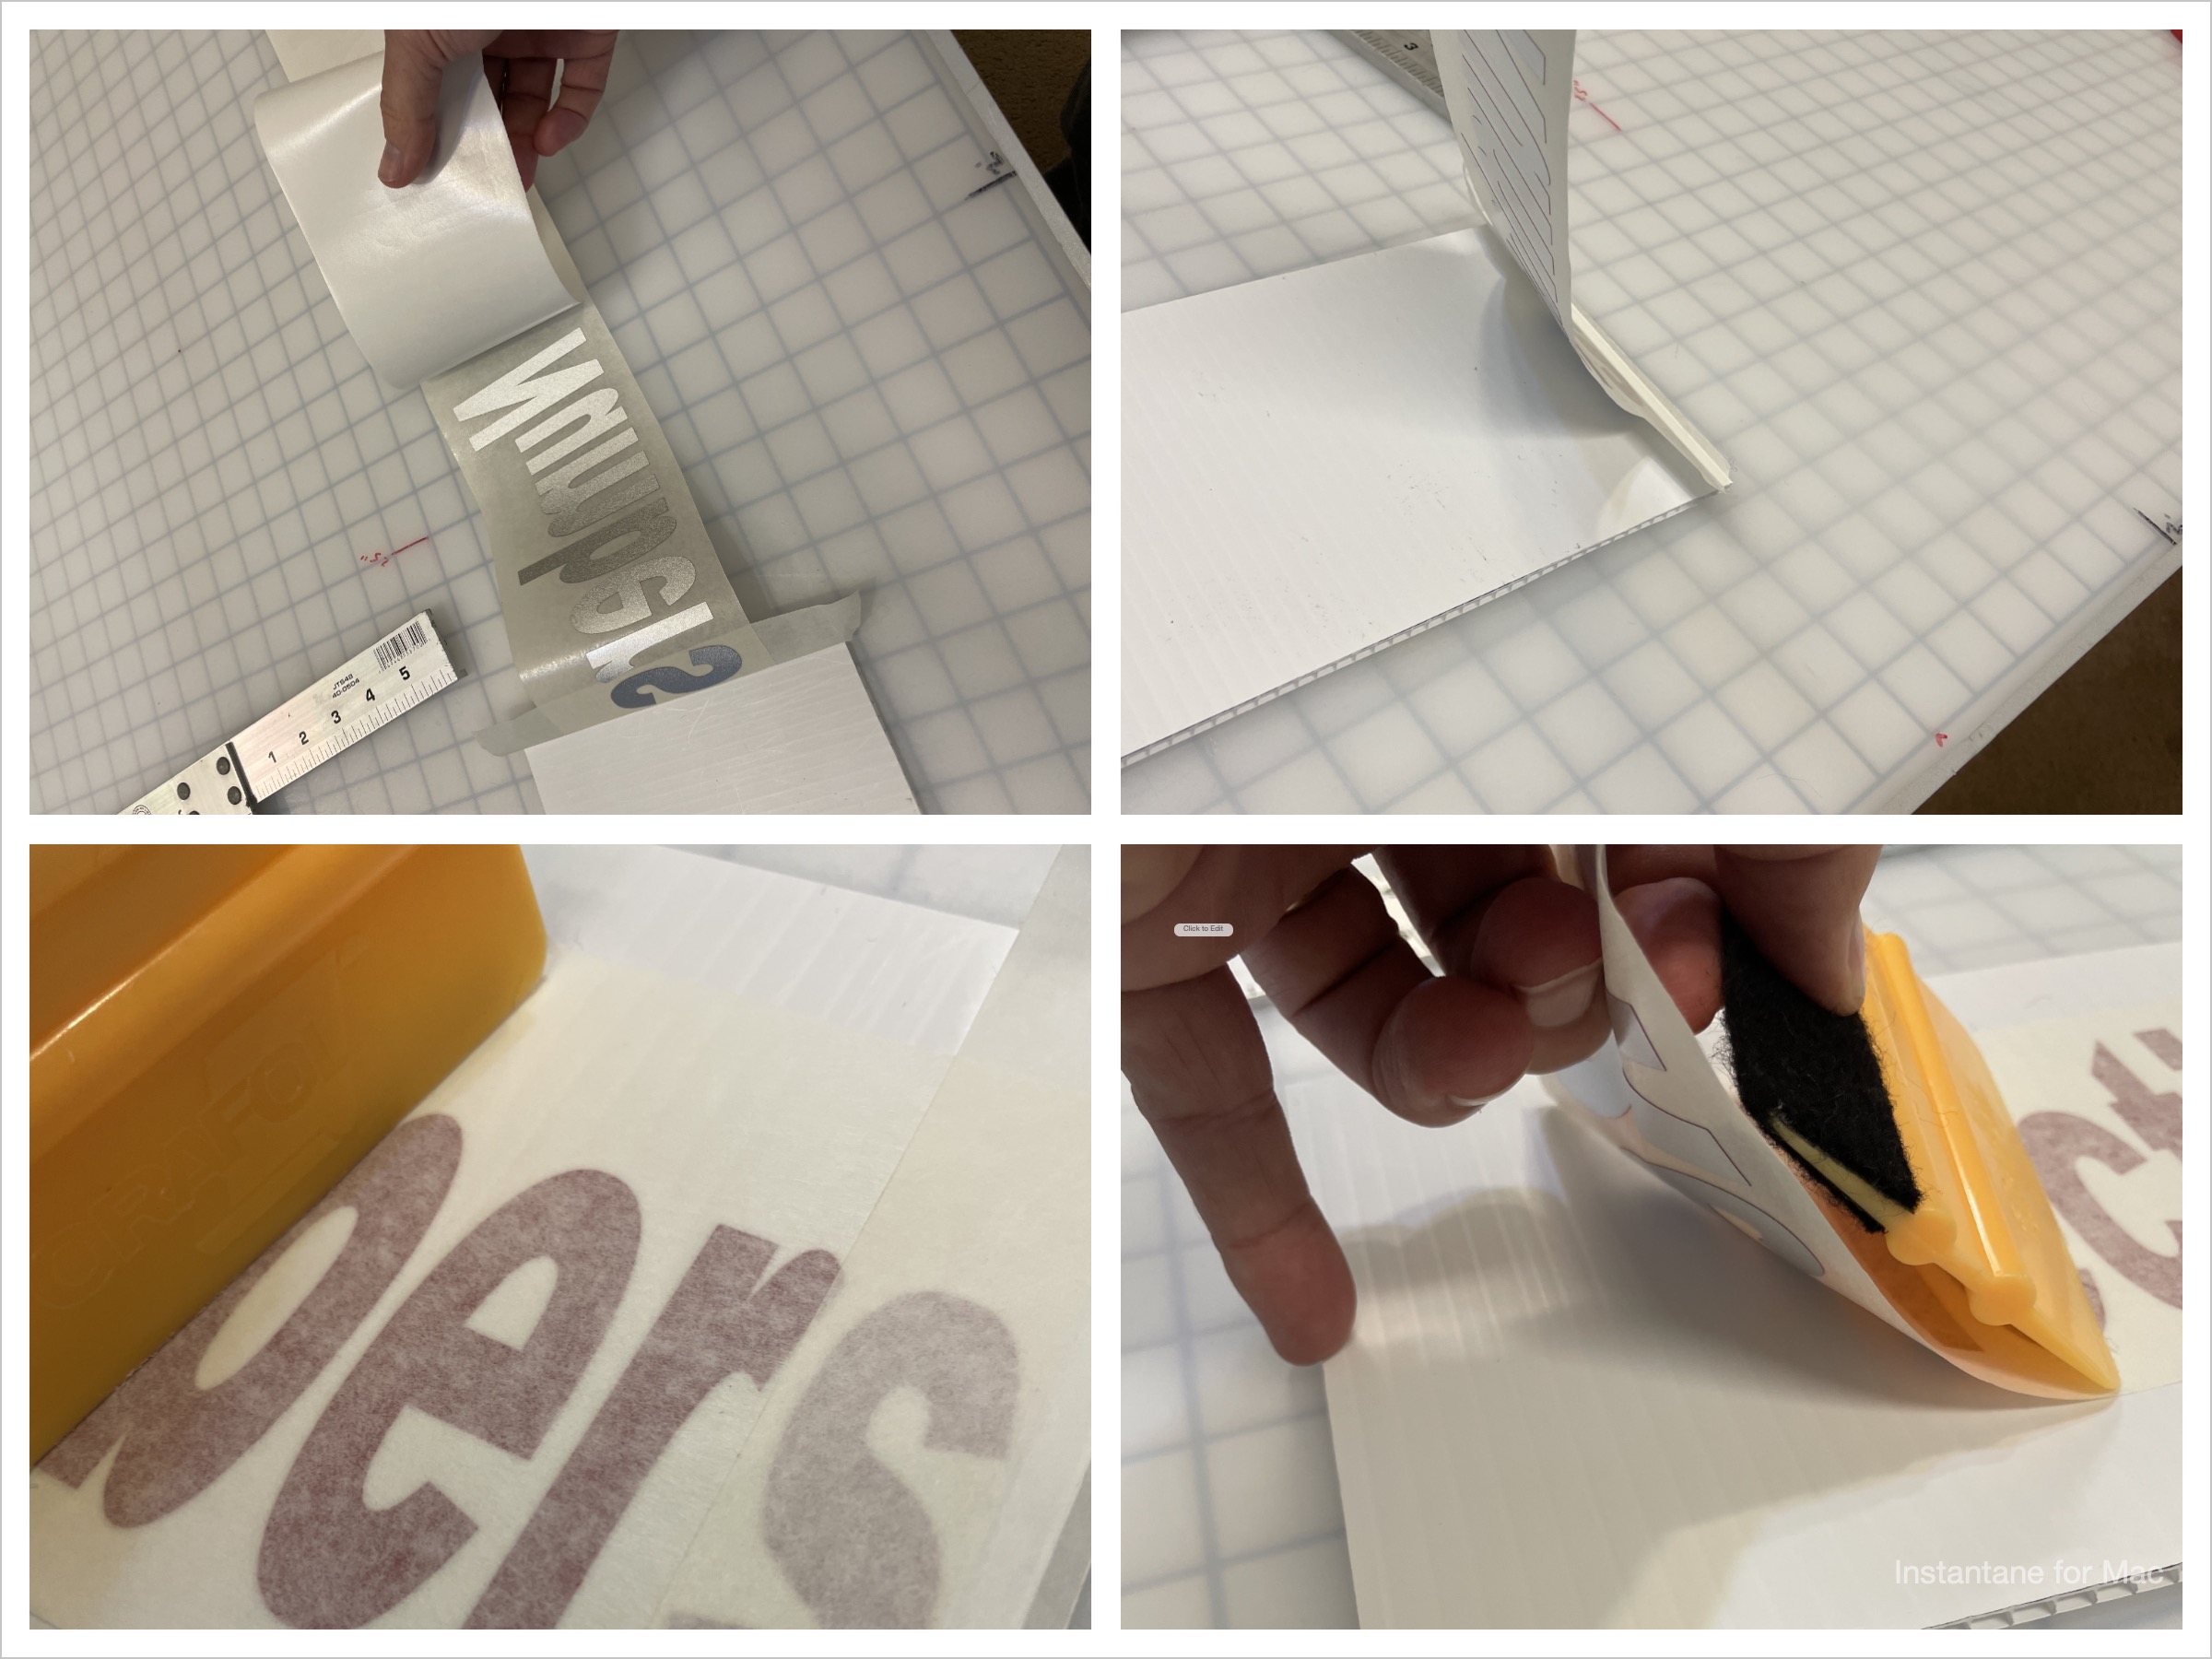 Lastly, once your letters have been applied, simply squeegee some more and then gently peel off the transfer paper (application film). This will reveal the letters and once gone, your sign is done.